
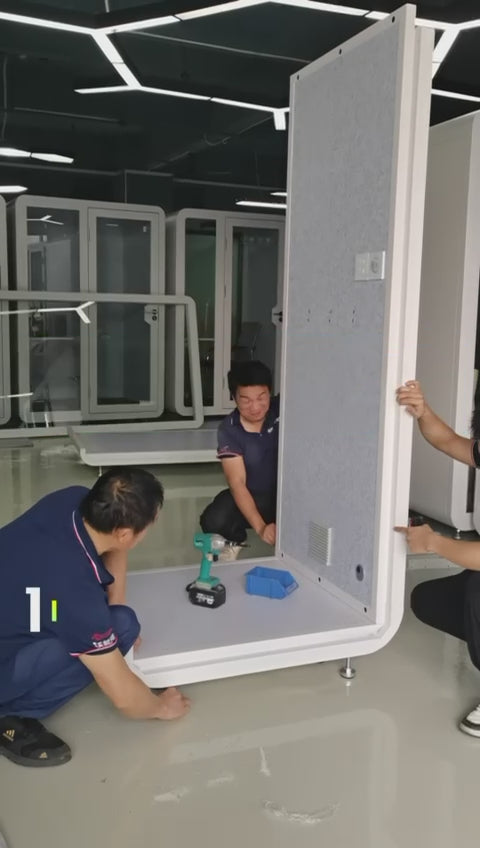
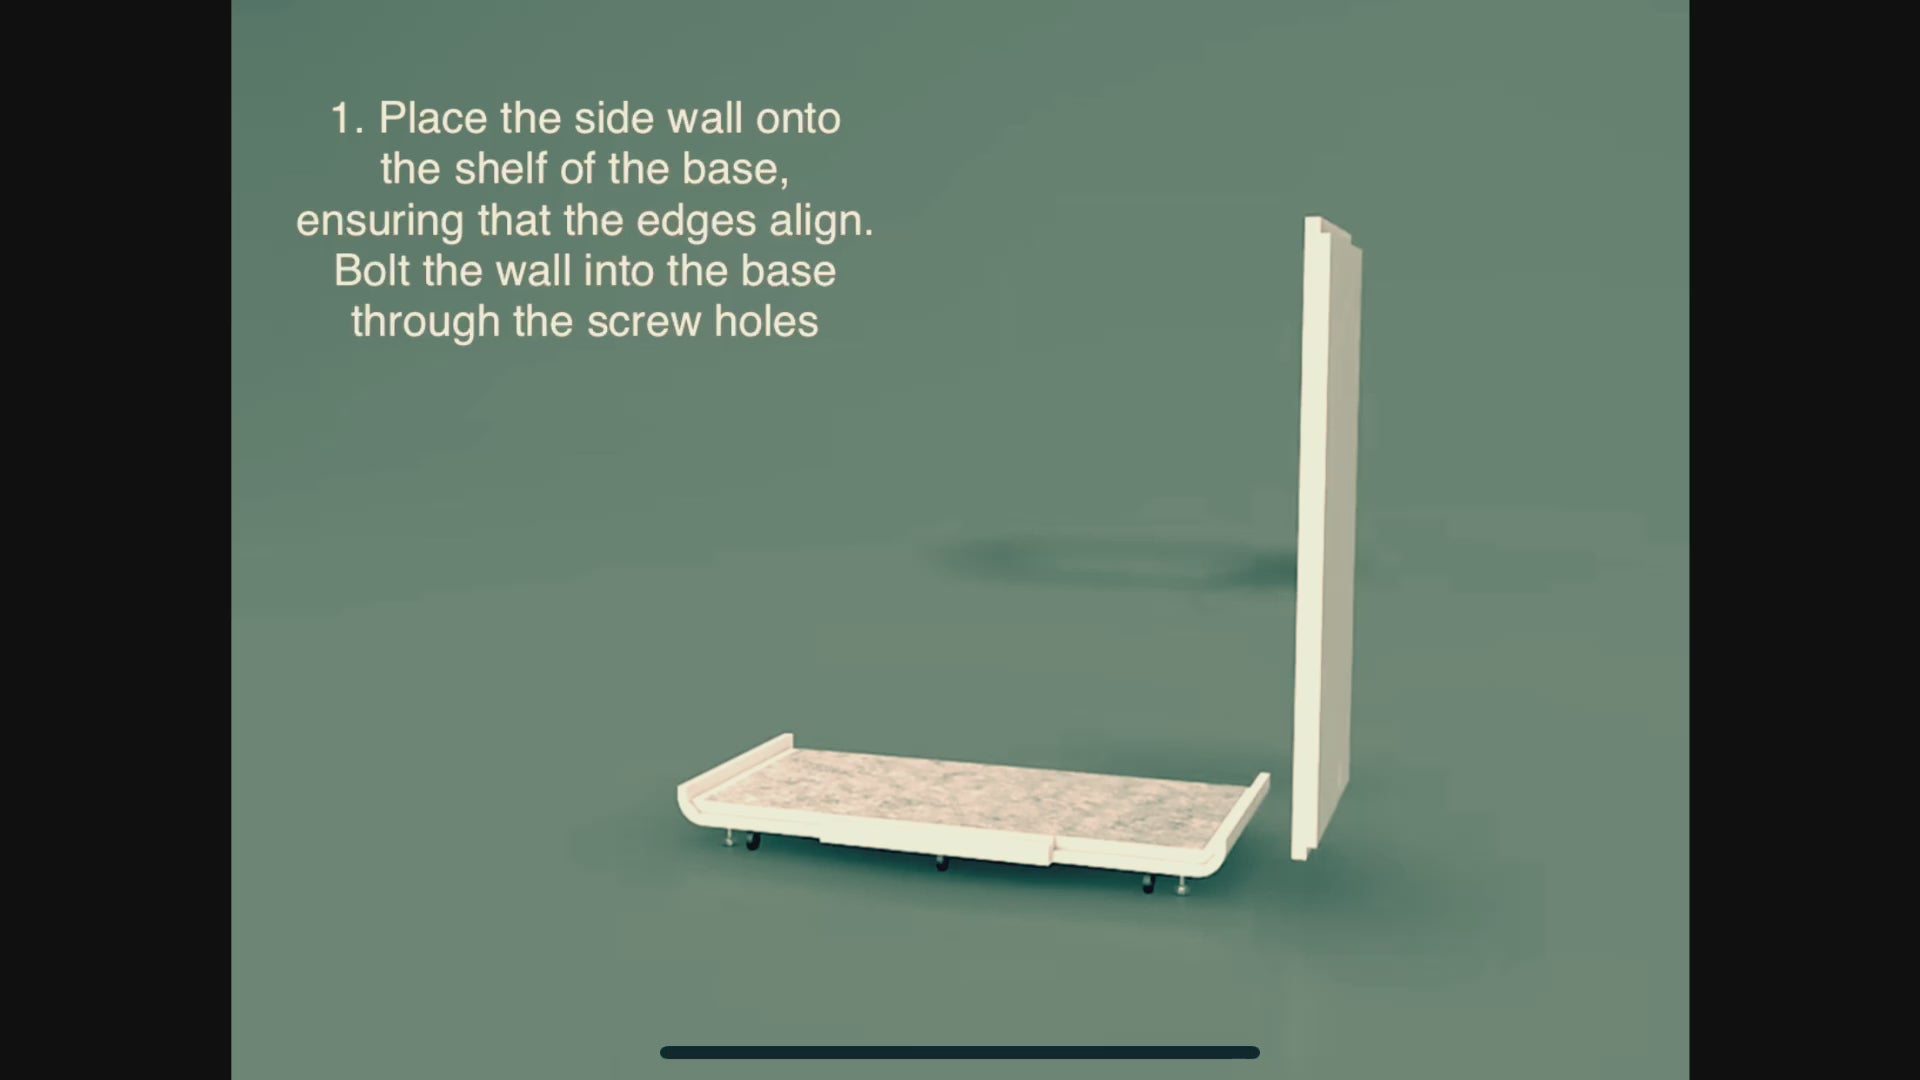
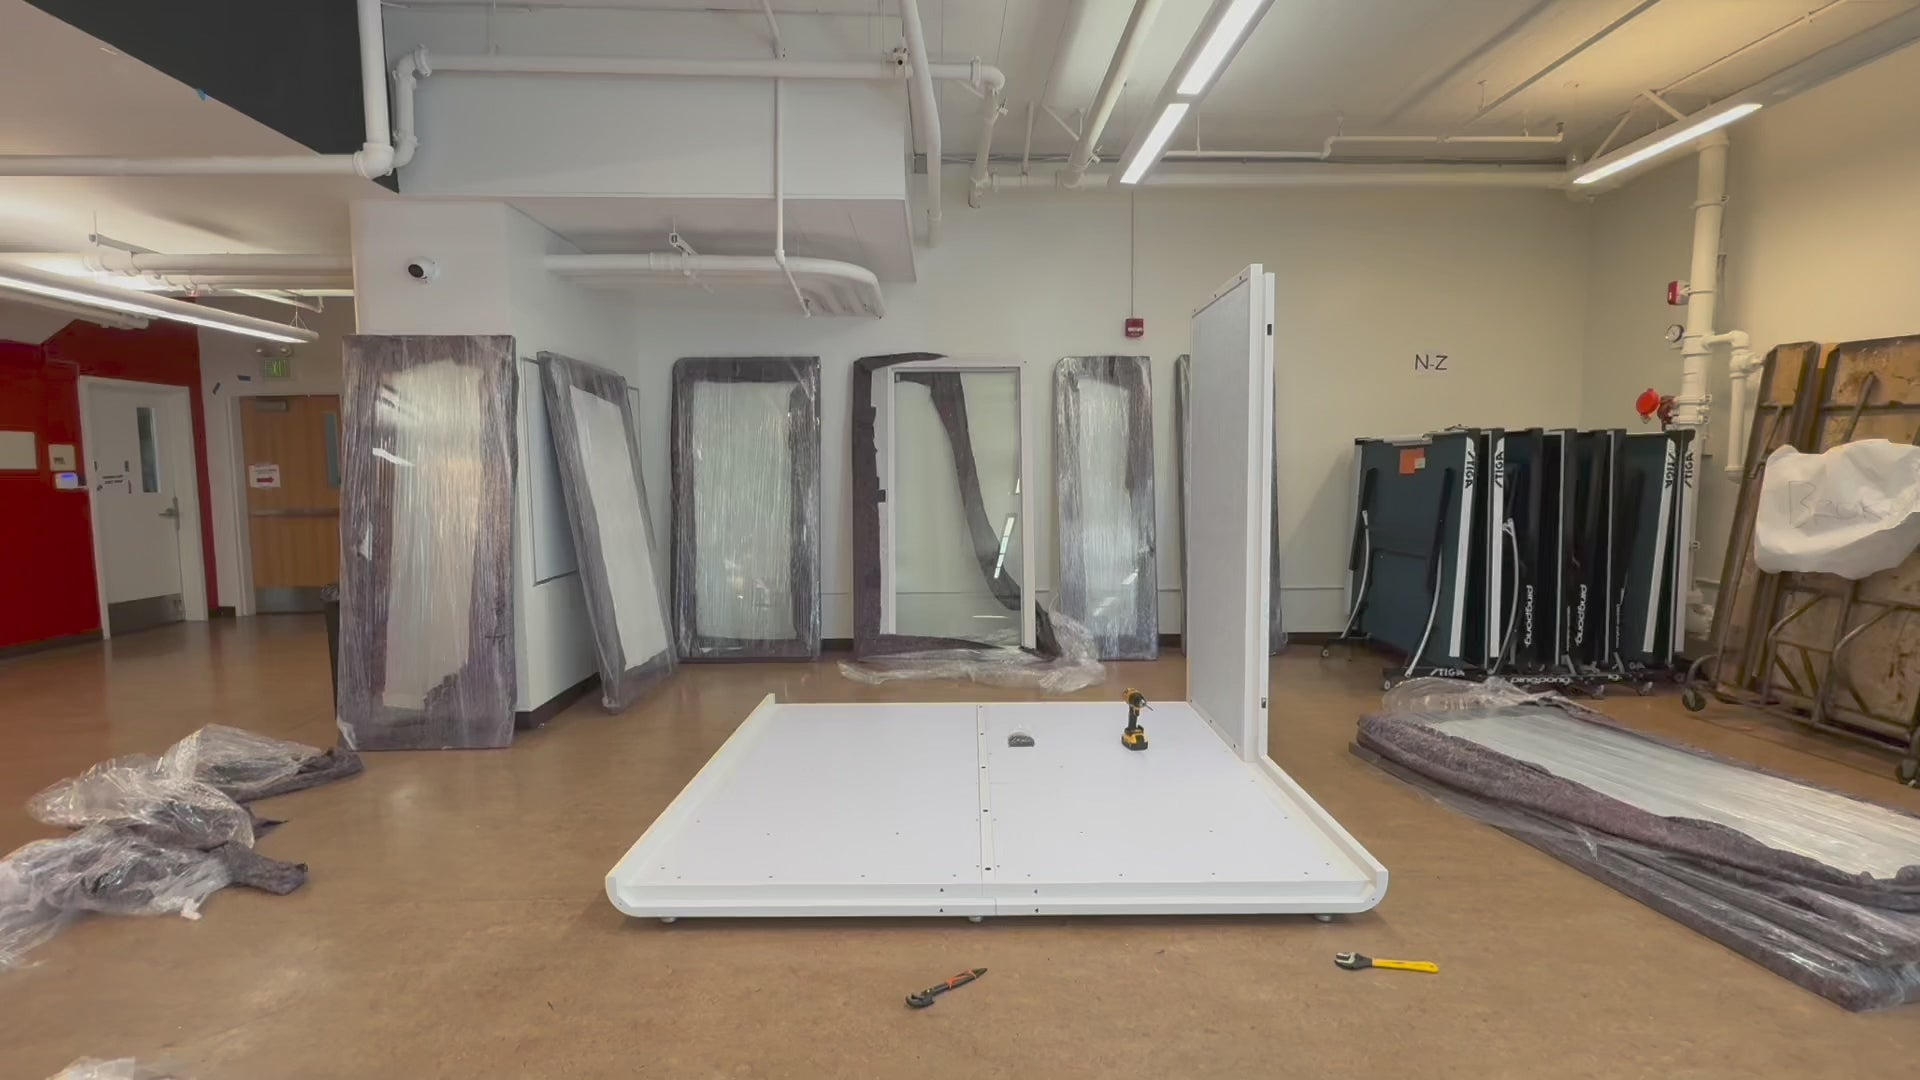
Assembly
Solo Assembly
Office Assembly
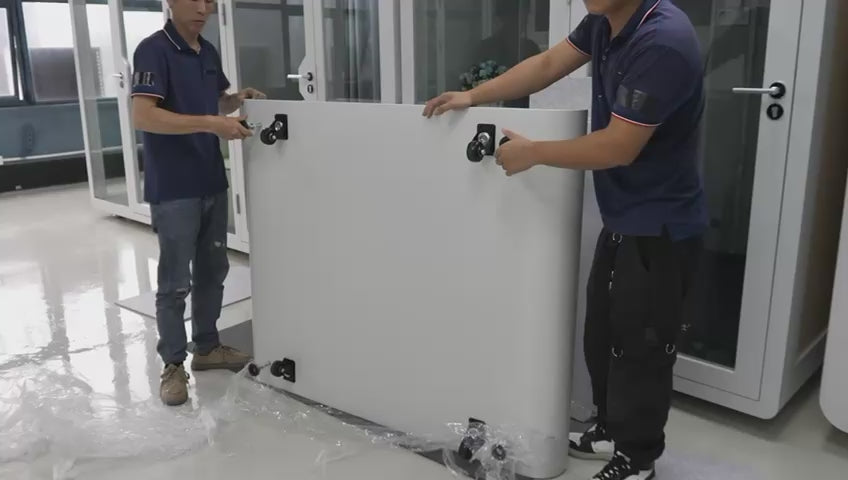

Duo Assembly
Quad Assembly

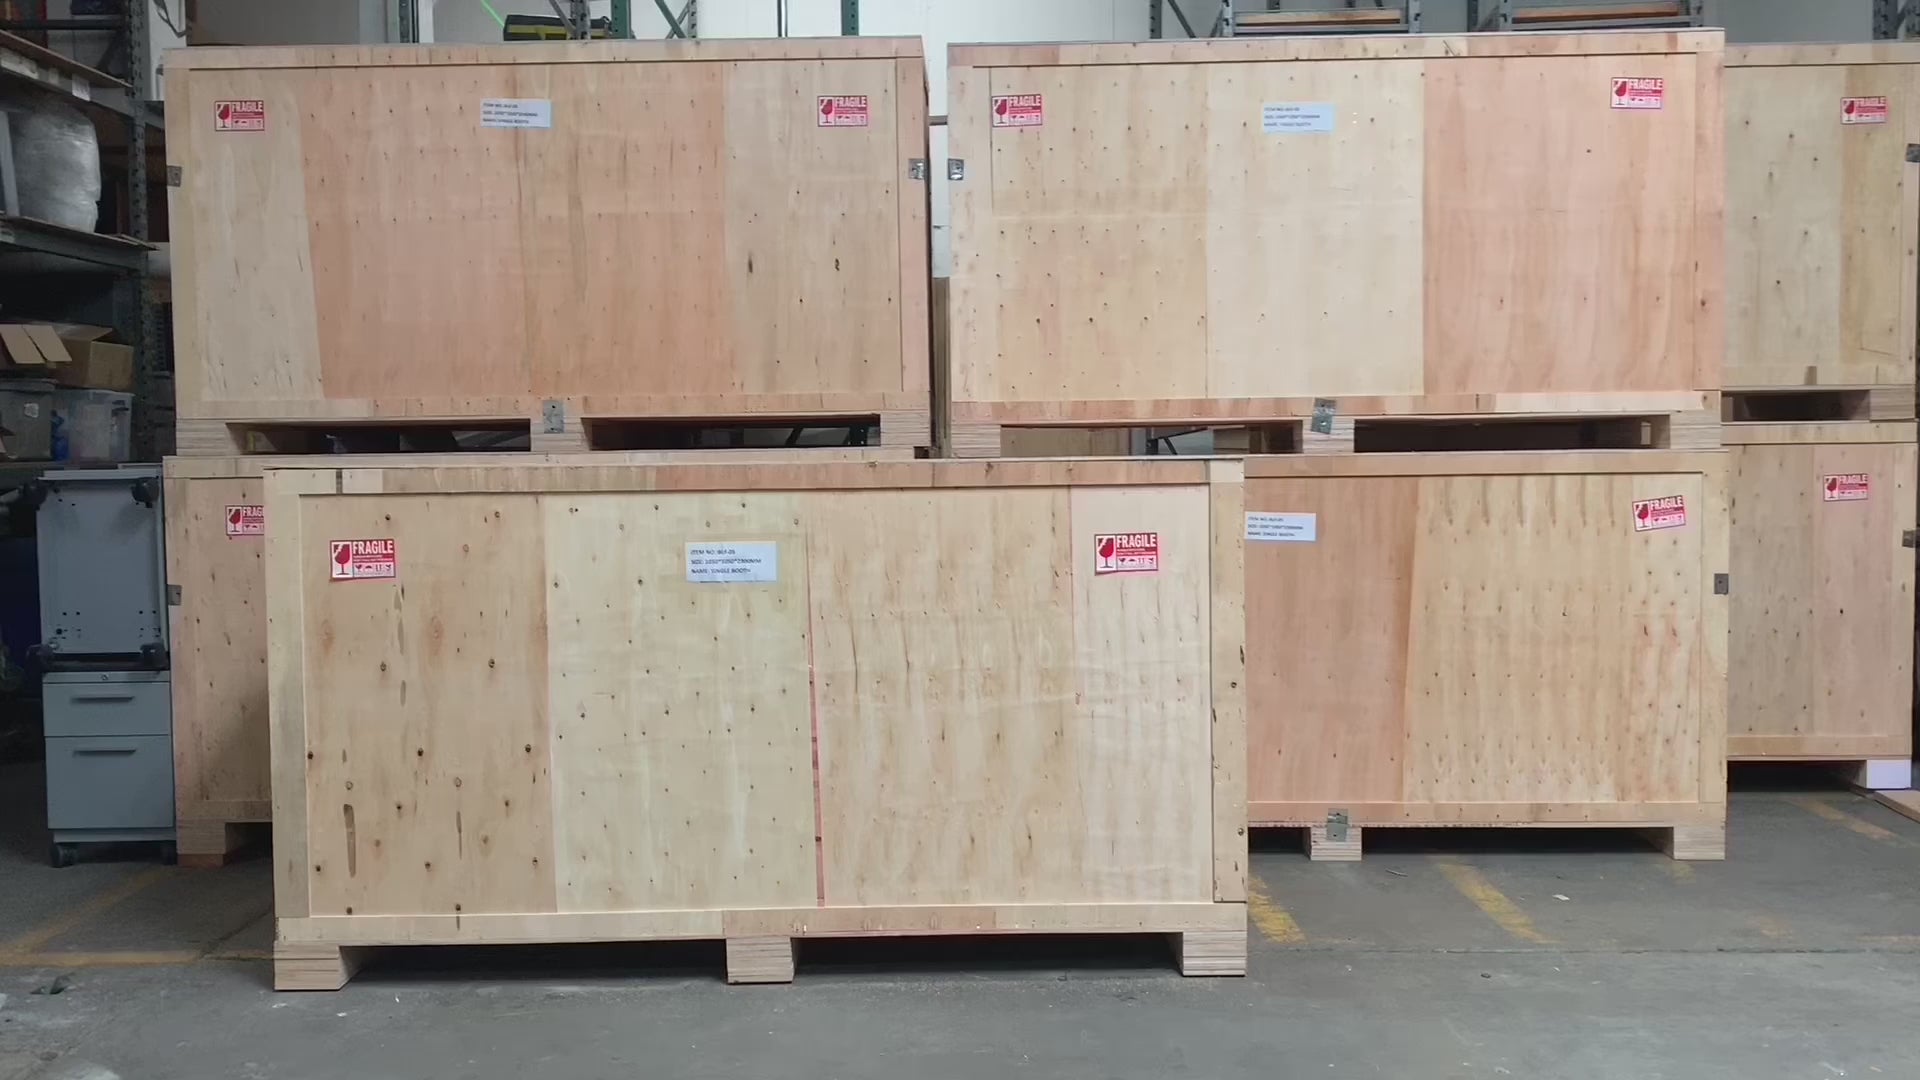
Delivery
*Delivery is a curbside service. White glove installation services available by referral
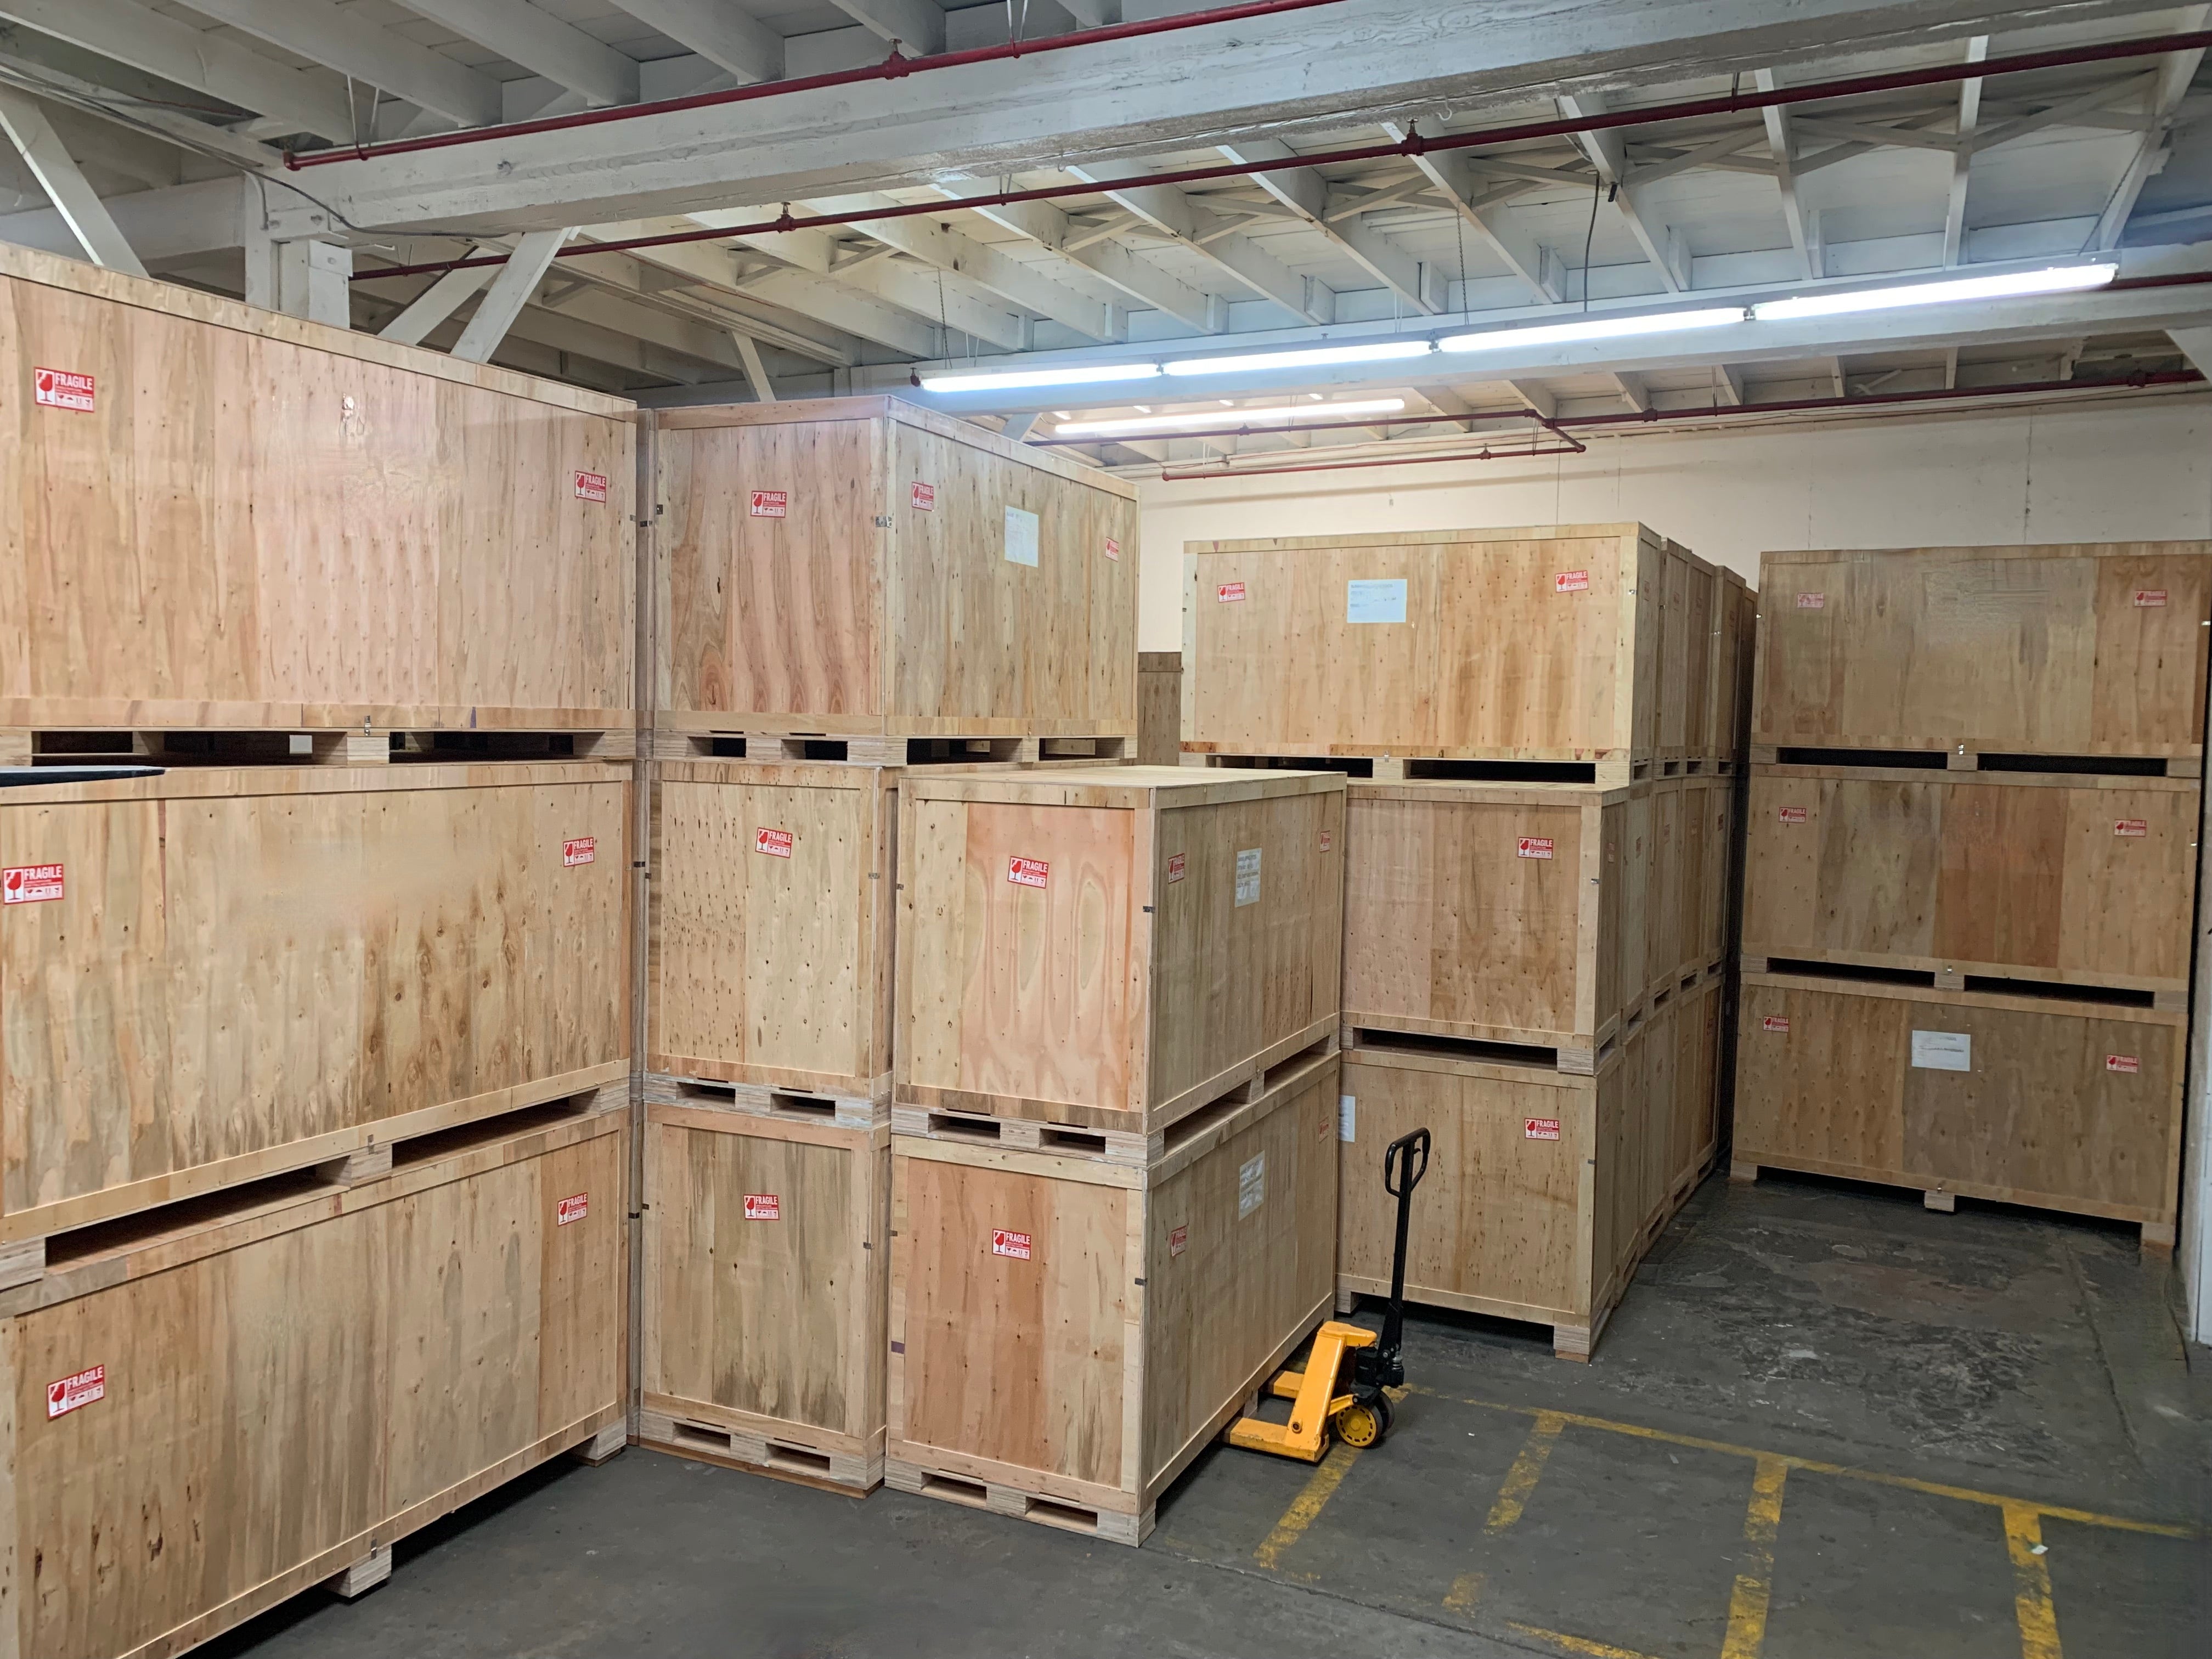
1. We will contact you to confirm your shipping details and schedule delivery
Note: Delivery is a curbside service. We have installation providers we can refer for white glove service
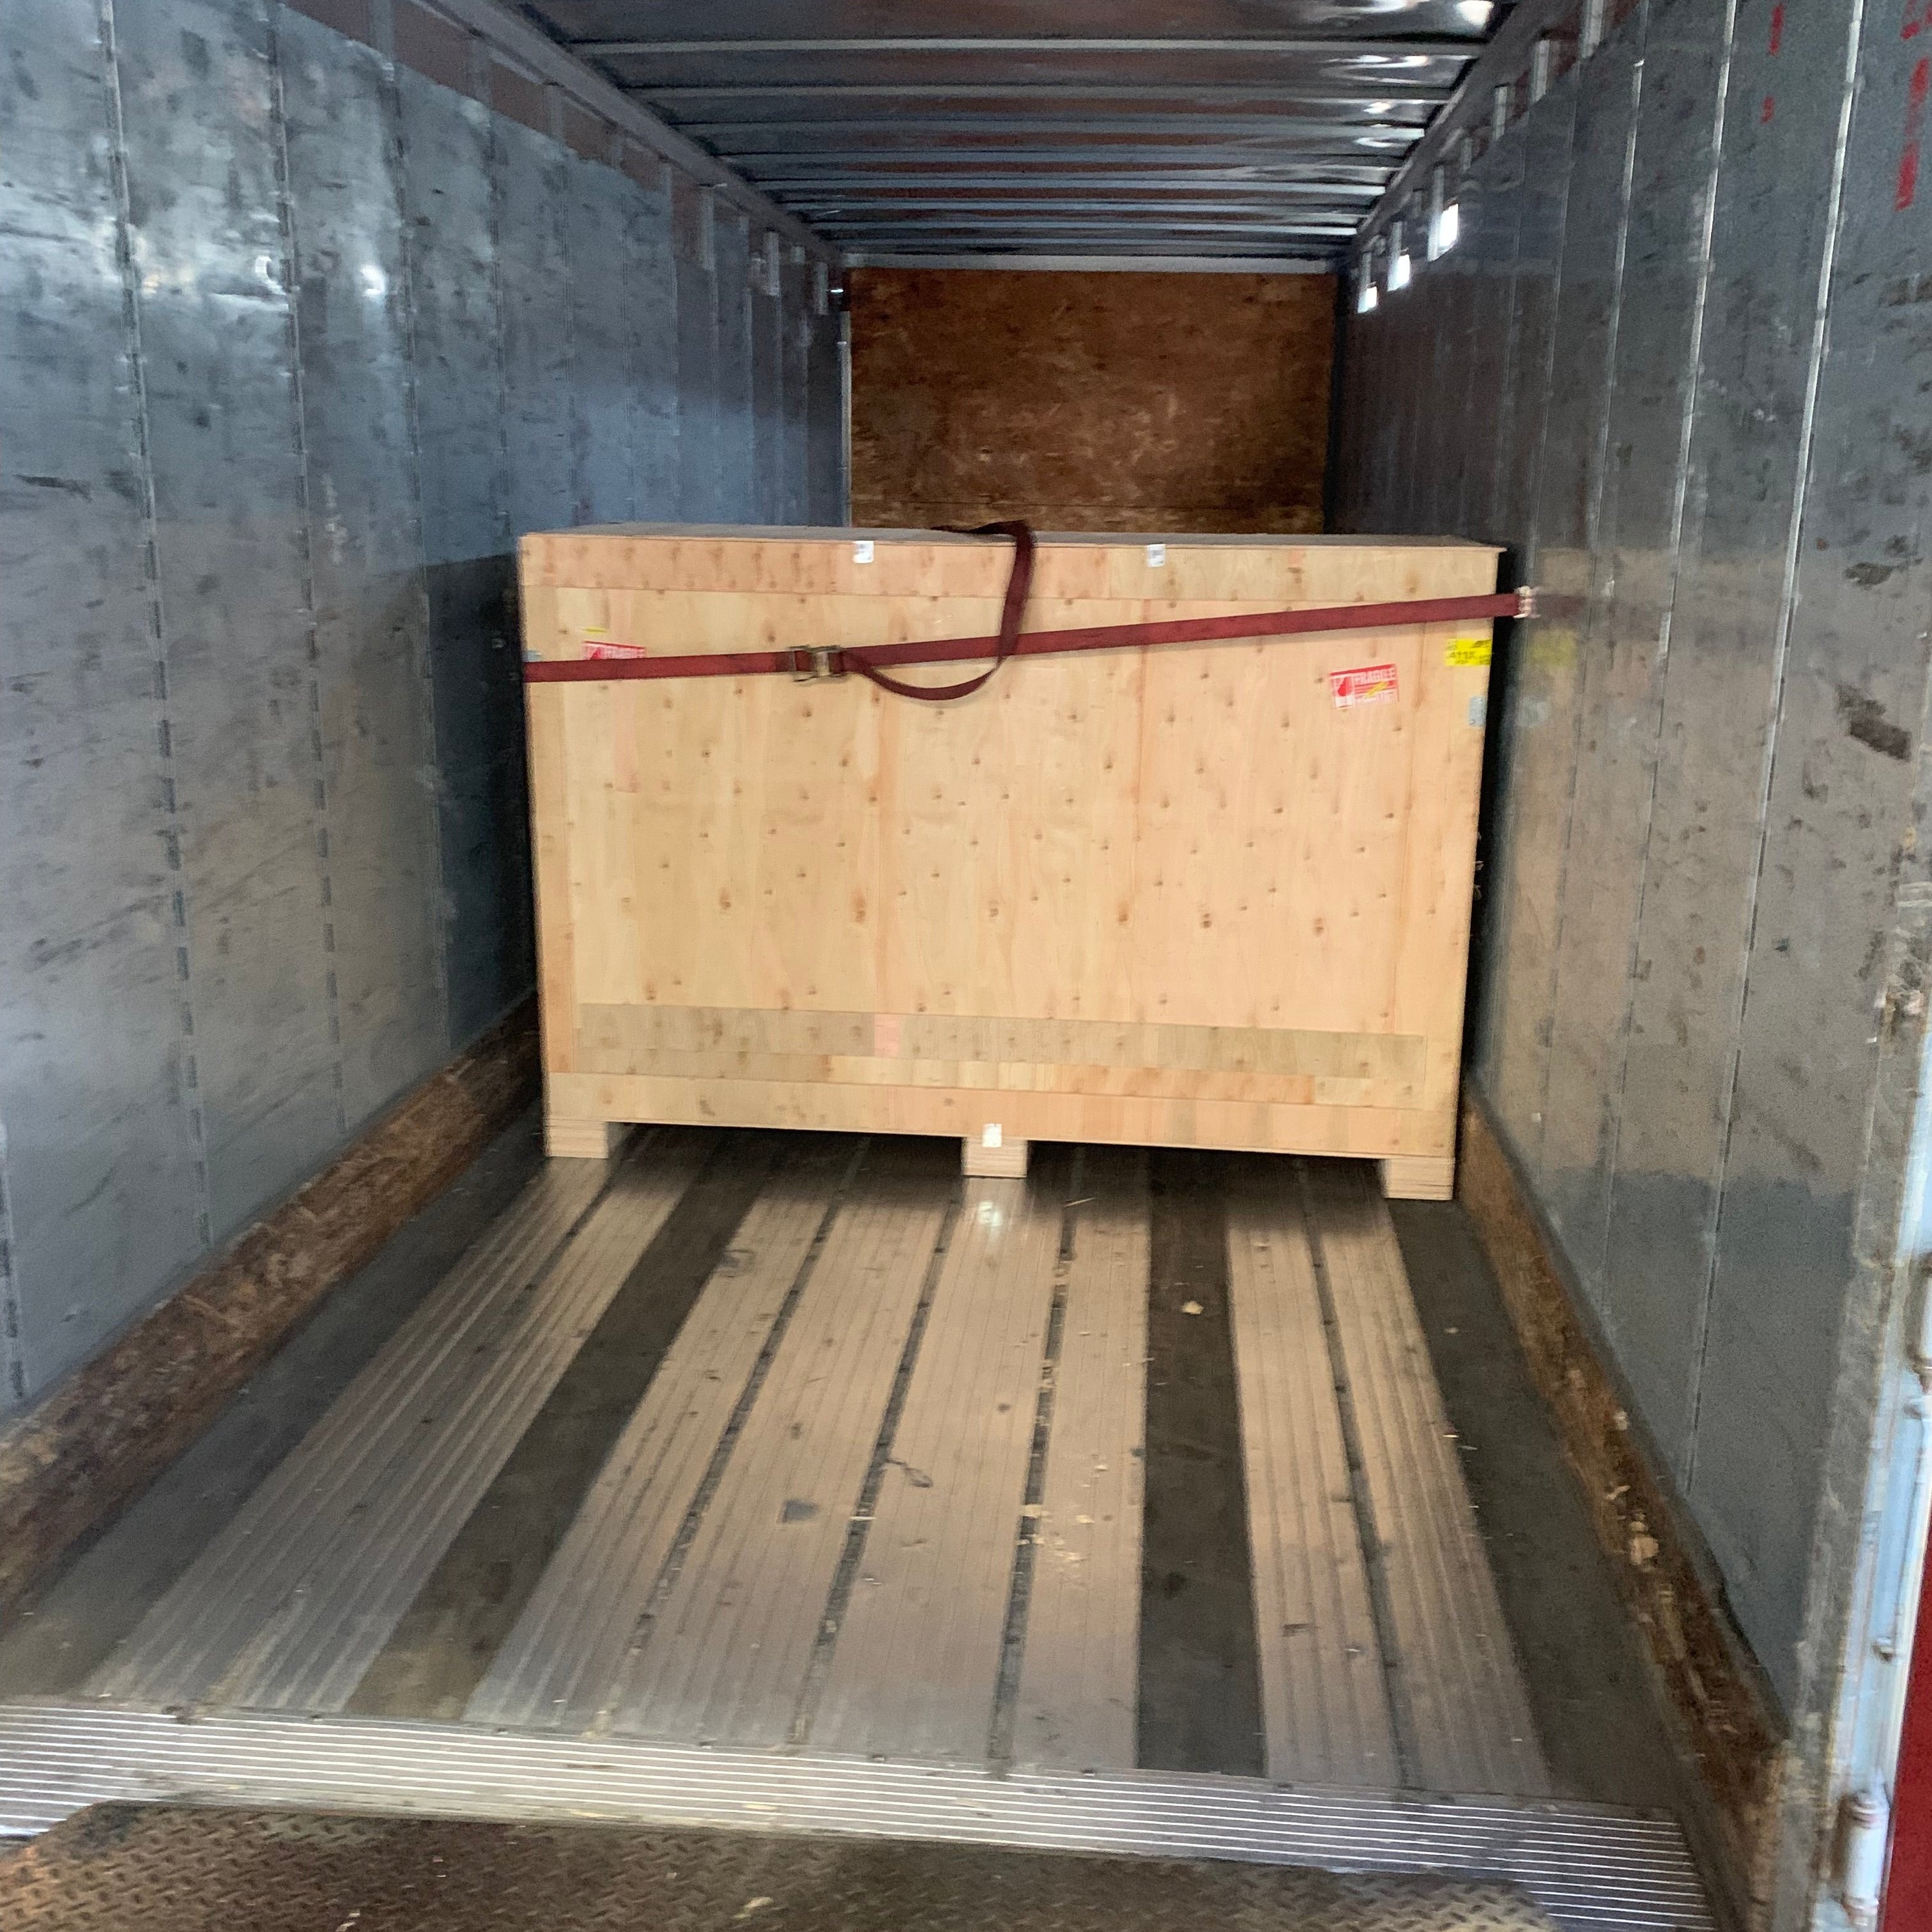
2. Once your shipment is picked up, you will receive a notification with tracking information
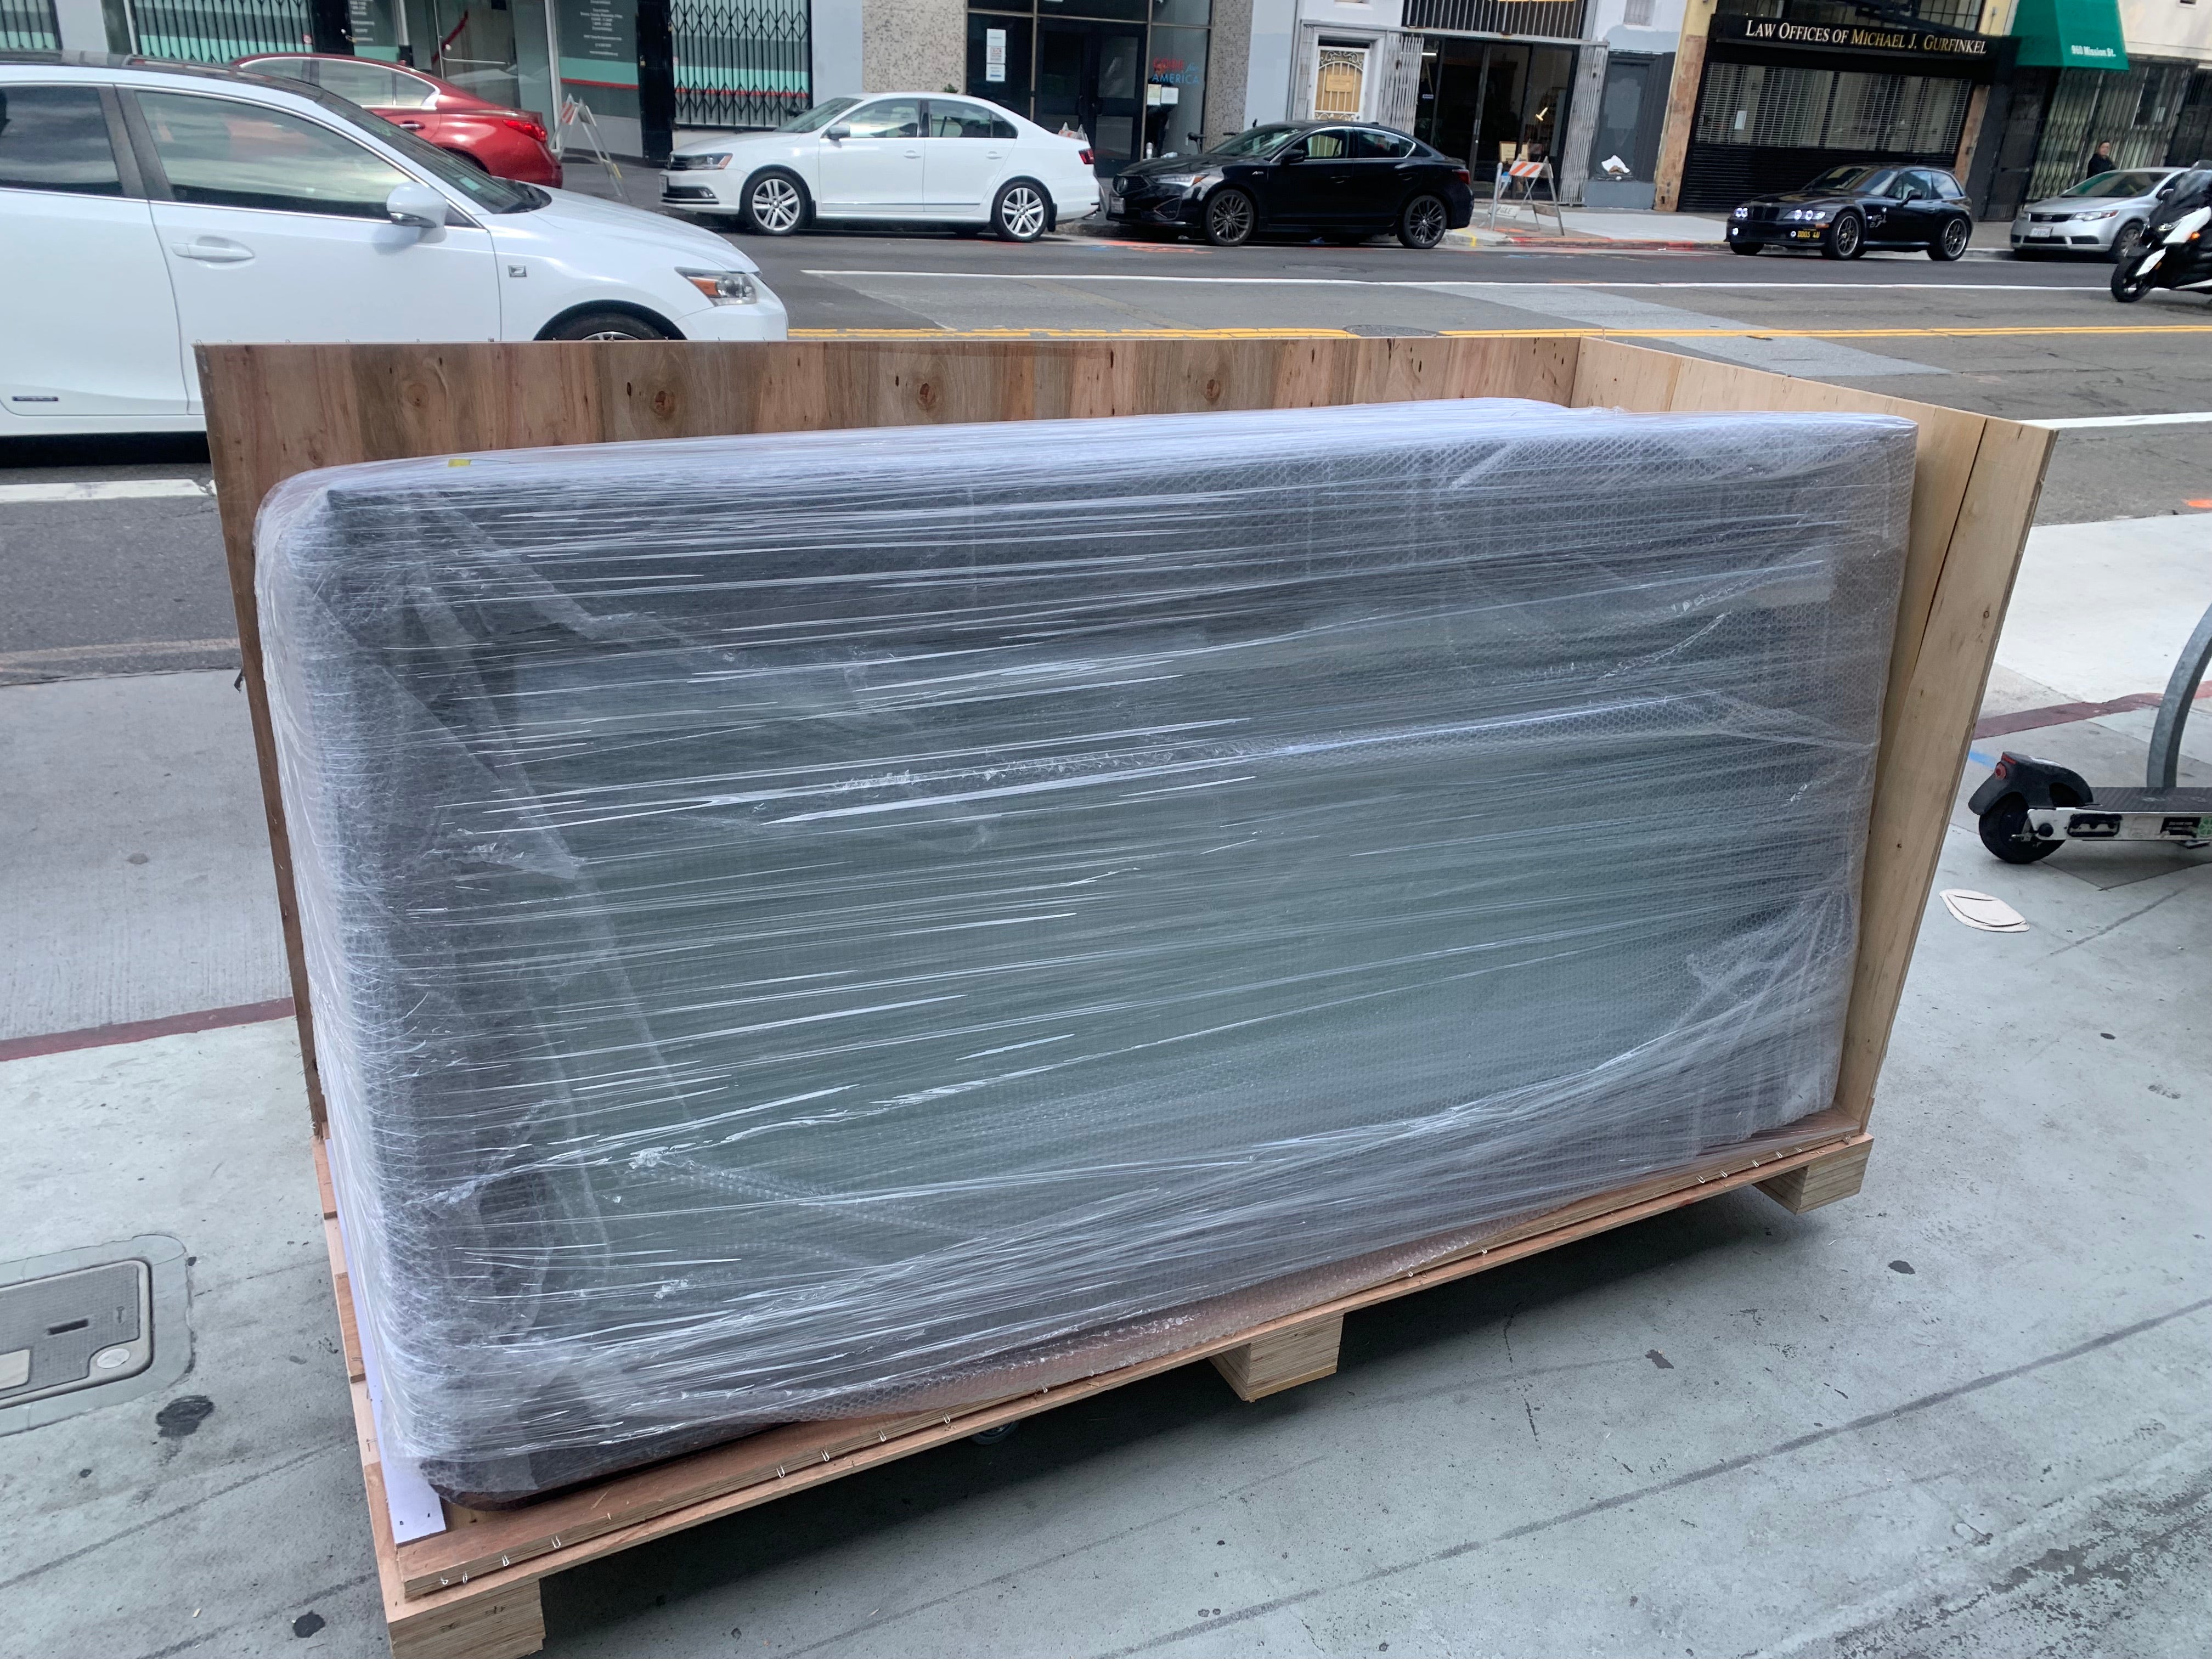
3. To open the crate, unscrew the top and 2 side walls of the crate, leaving the remaining walls intact as shown
What's Included
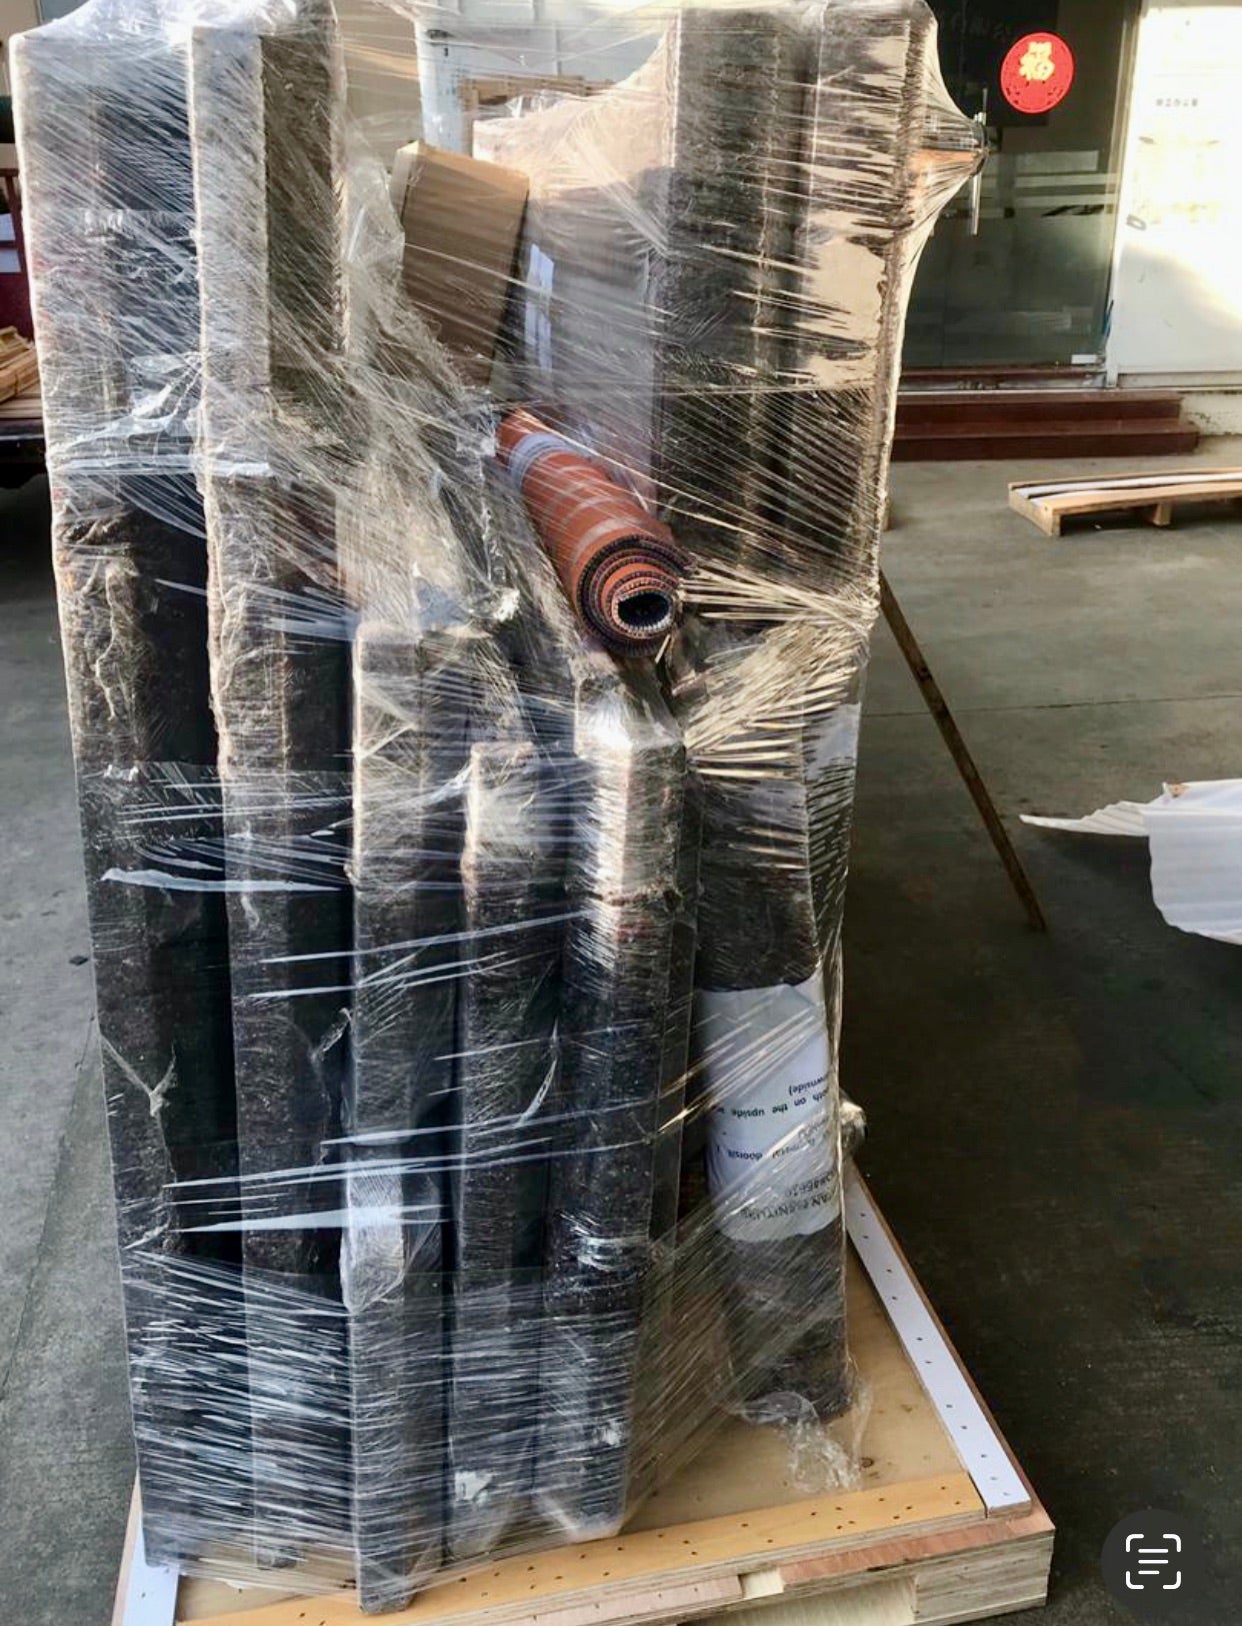
Walls, floor and ceiling are individually and collectively wrapped inside the crate
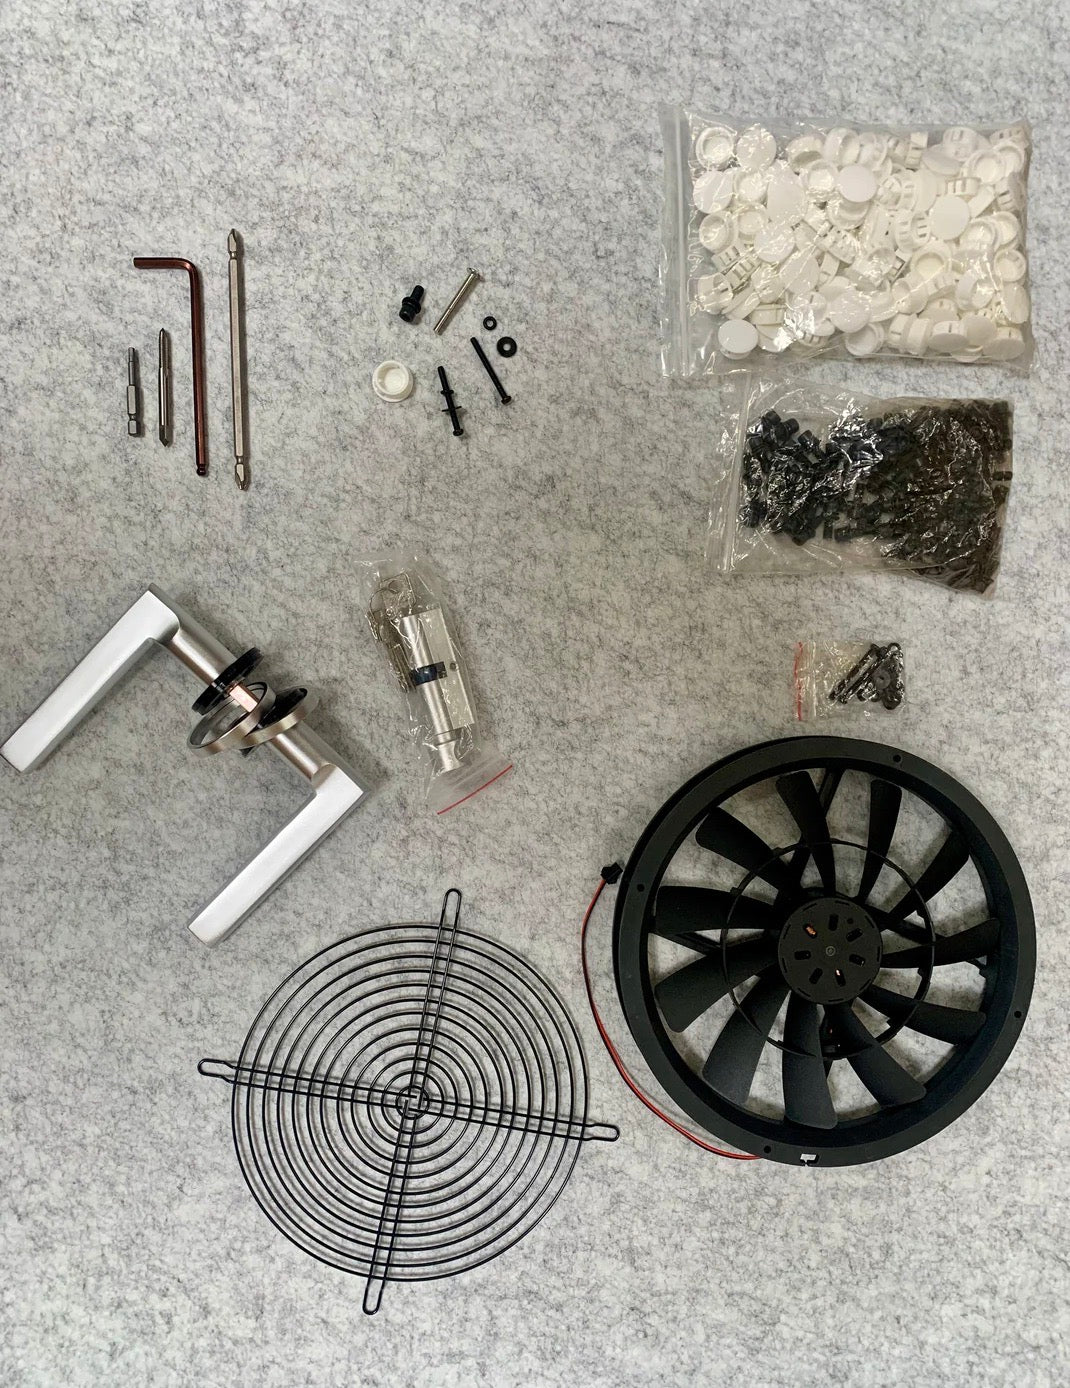
- Drill bits & hardware
- Fan & cover
- Door handle & optional deadbolt
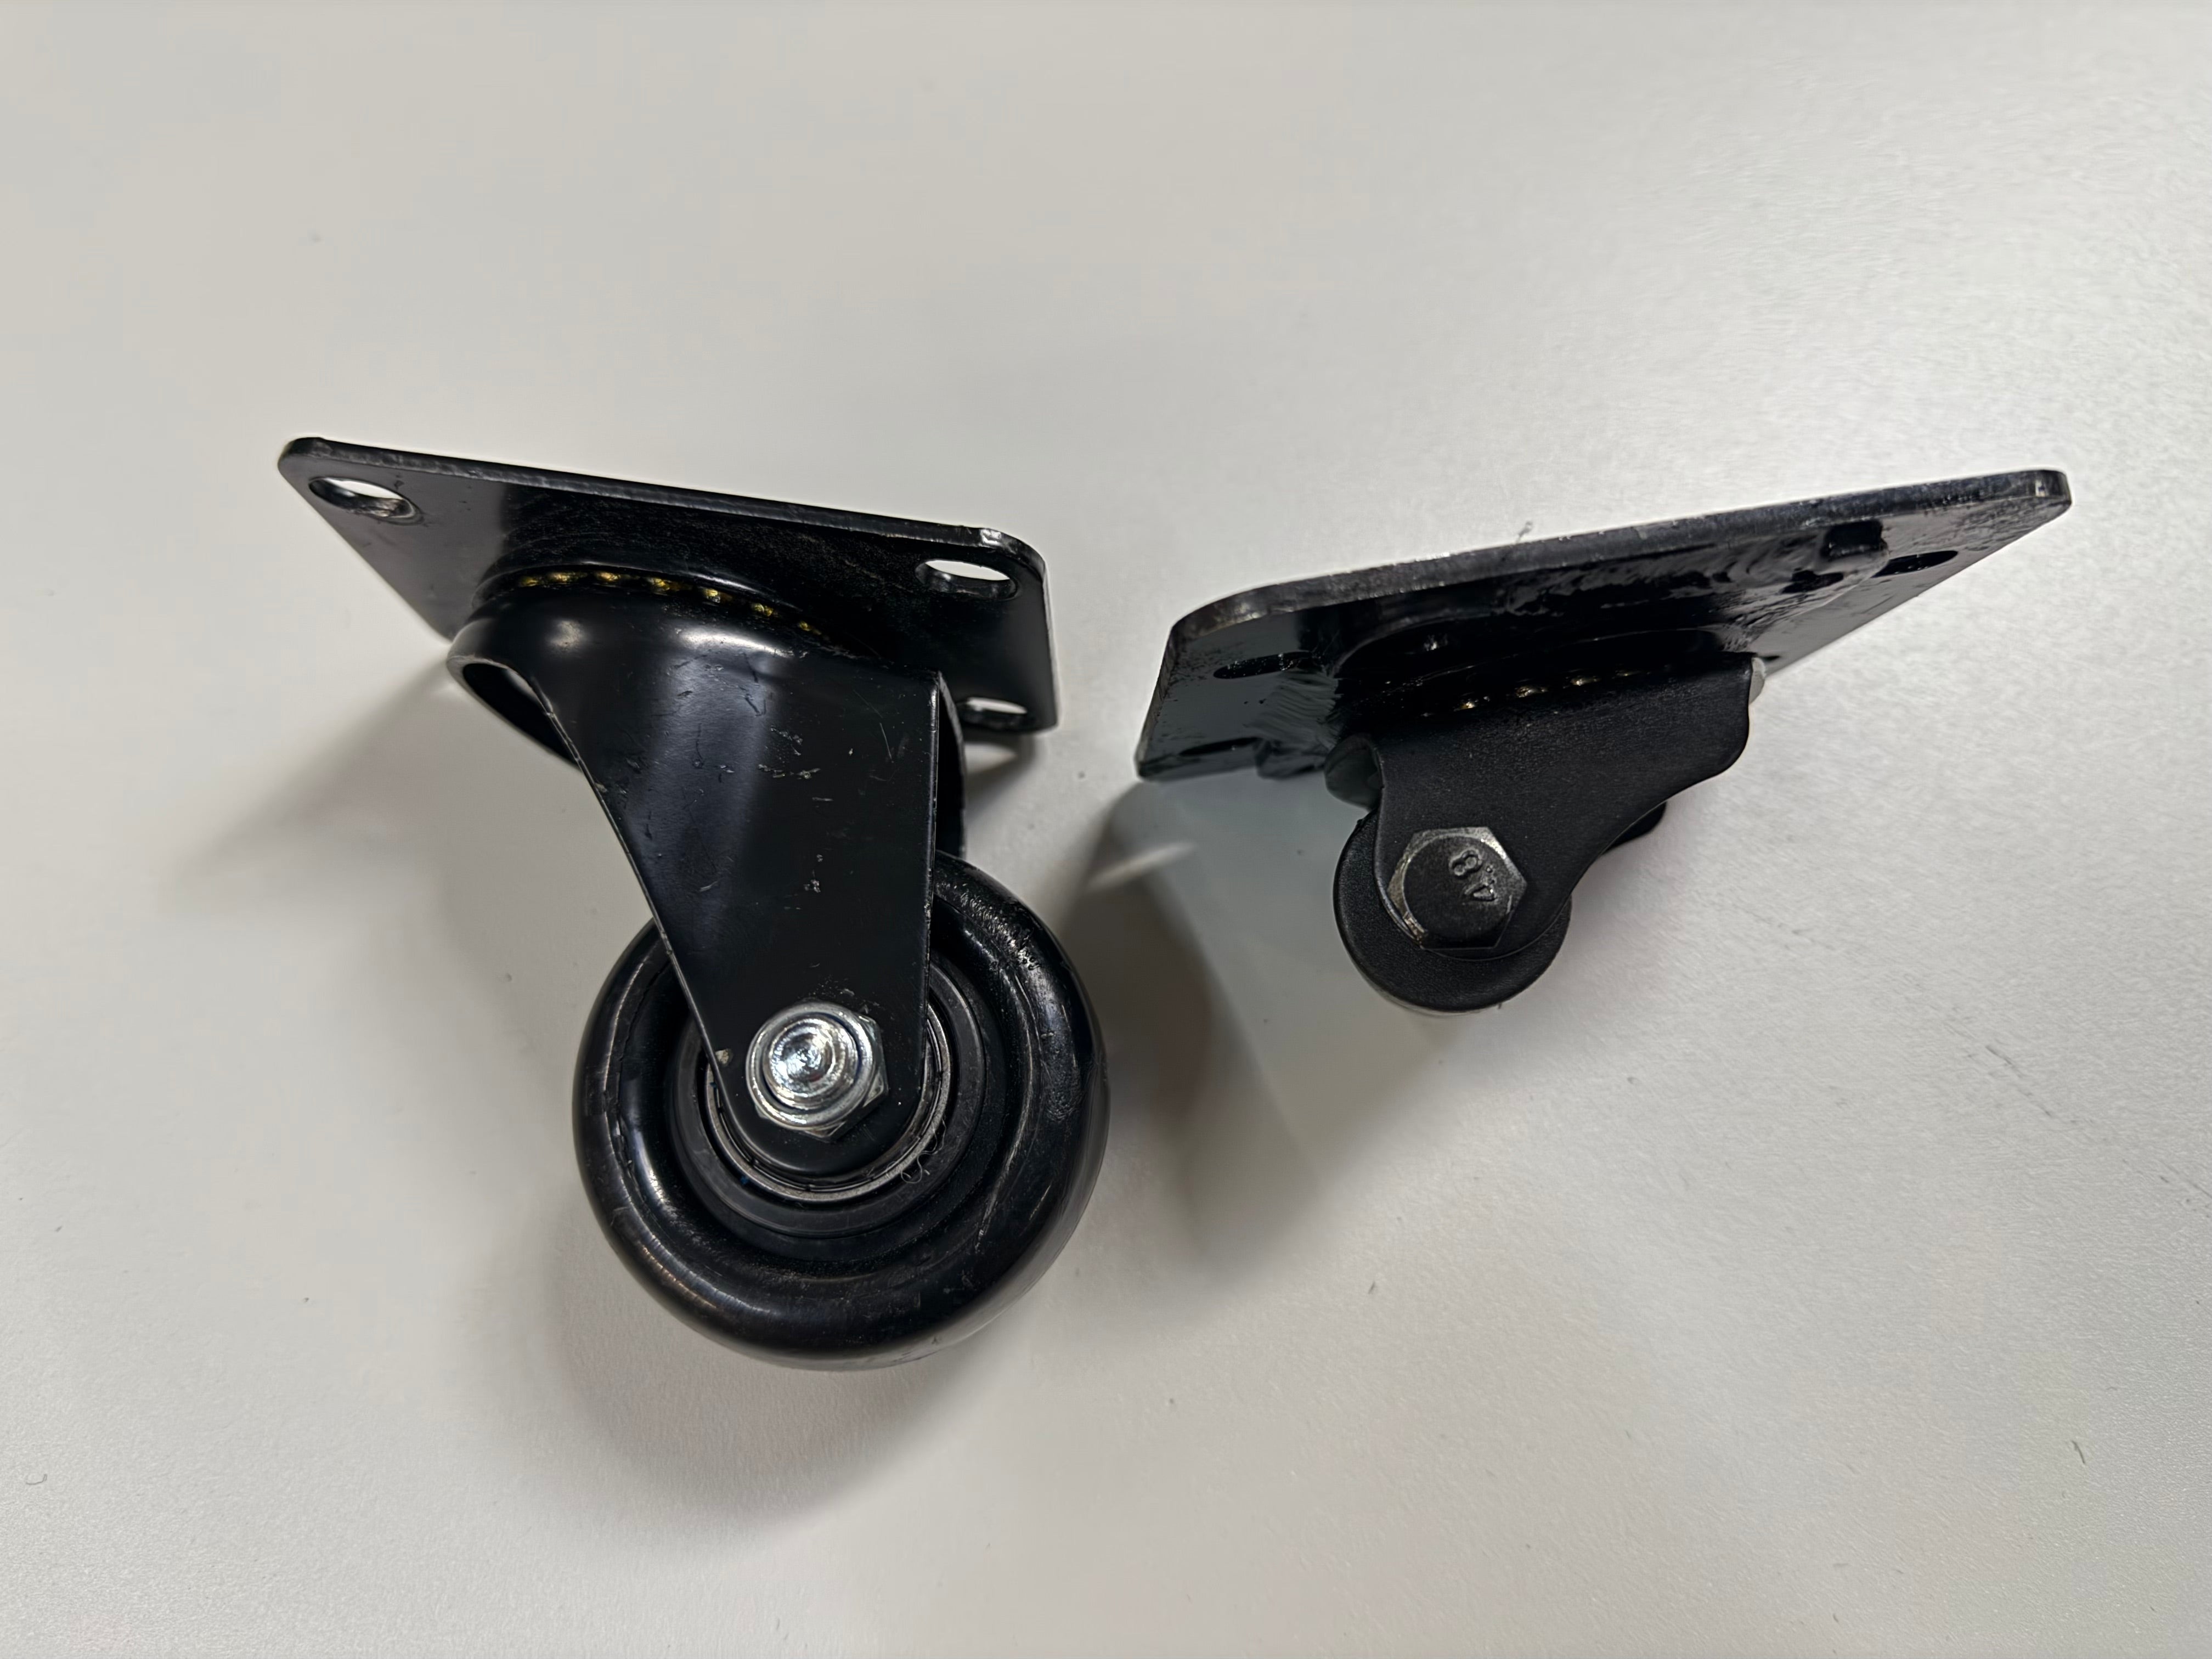
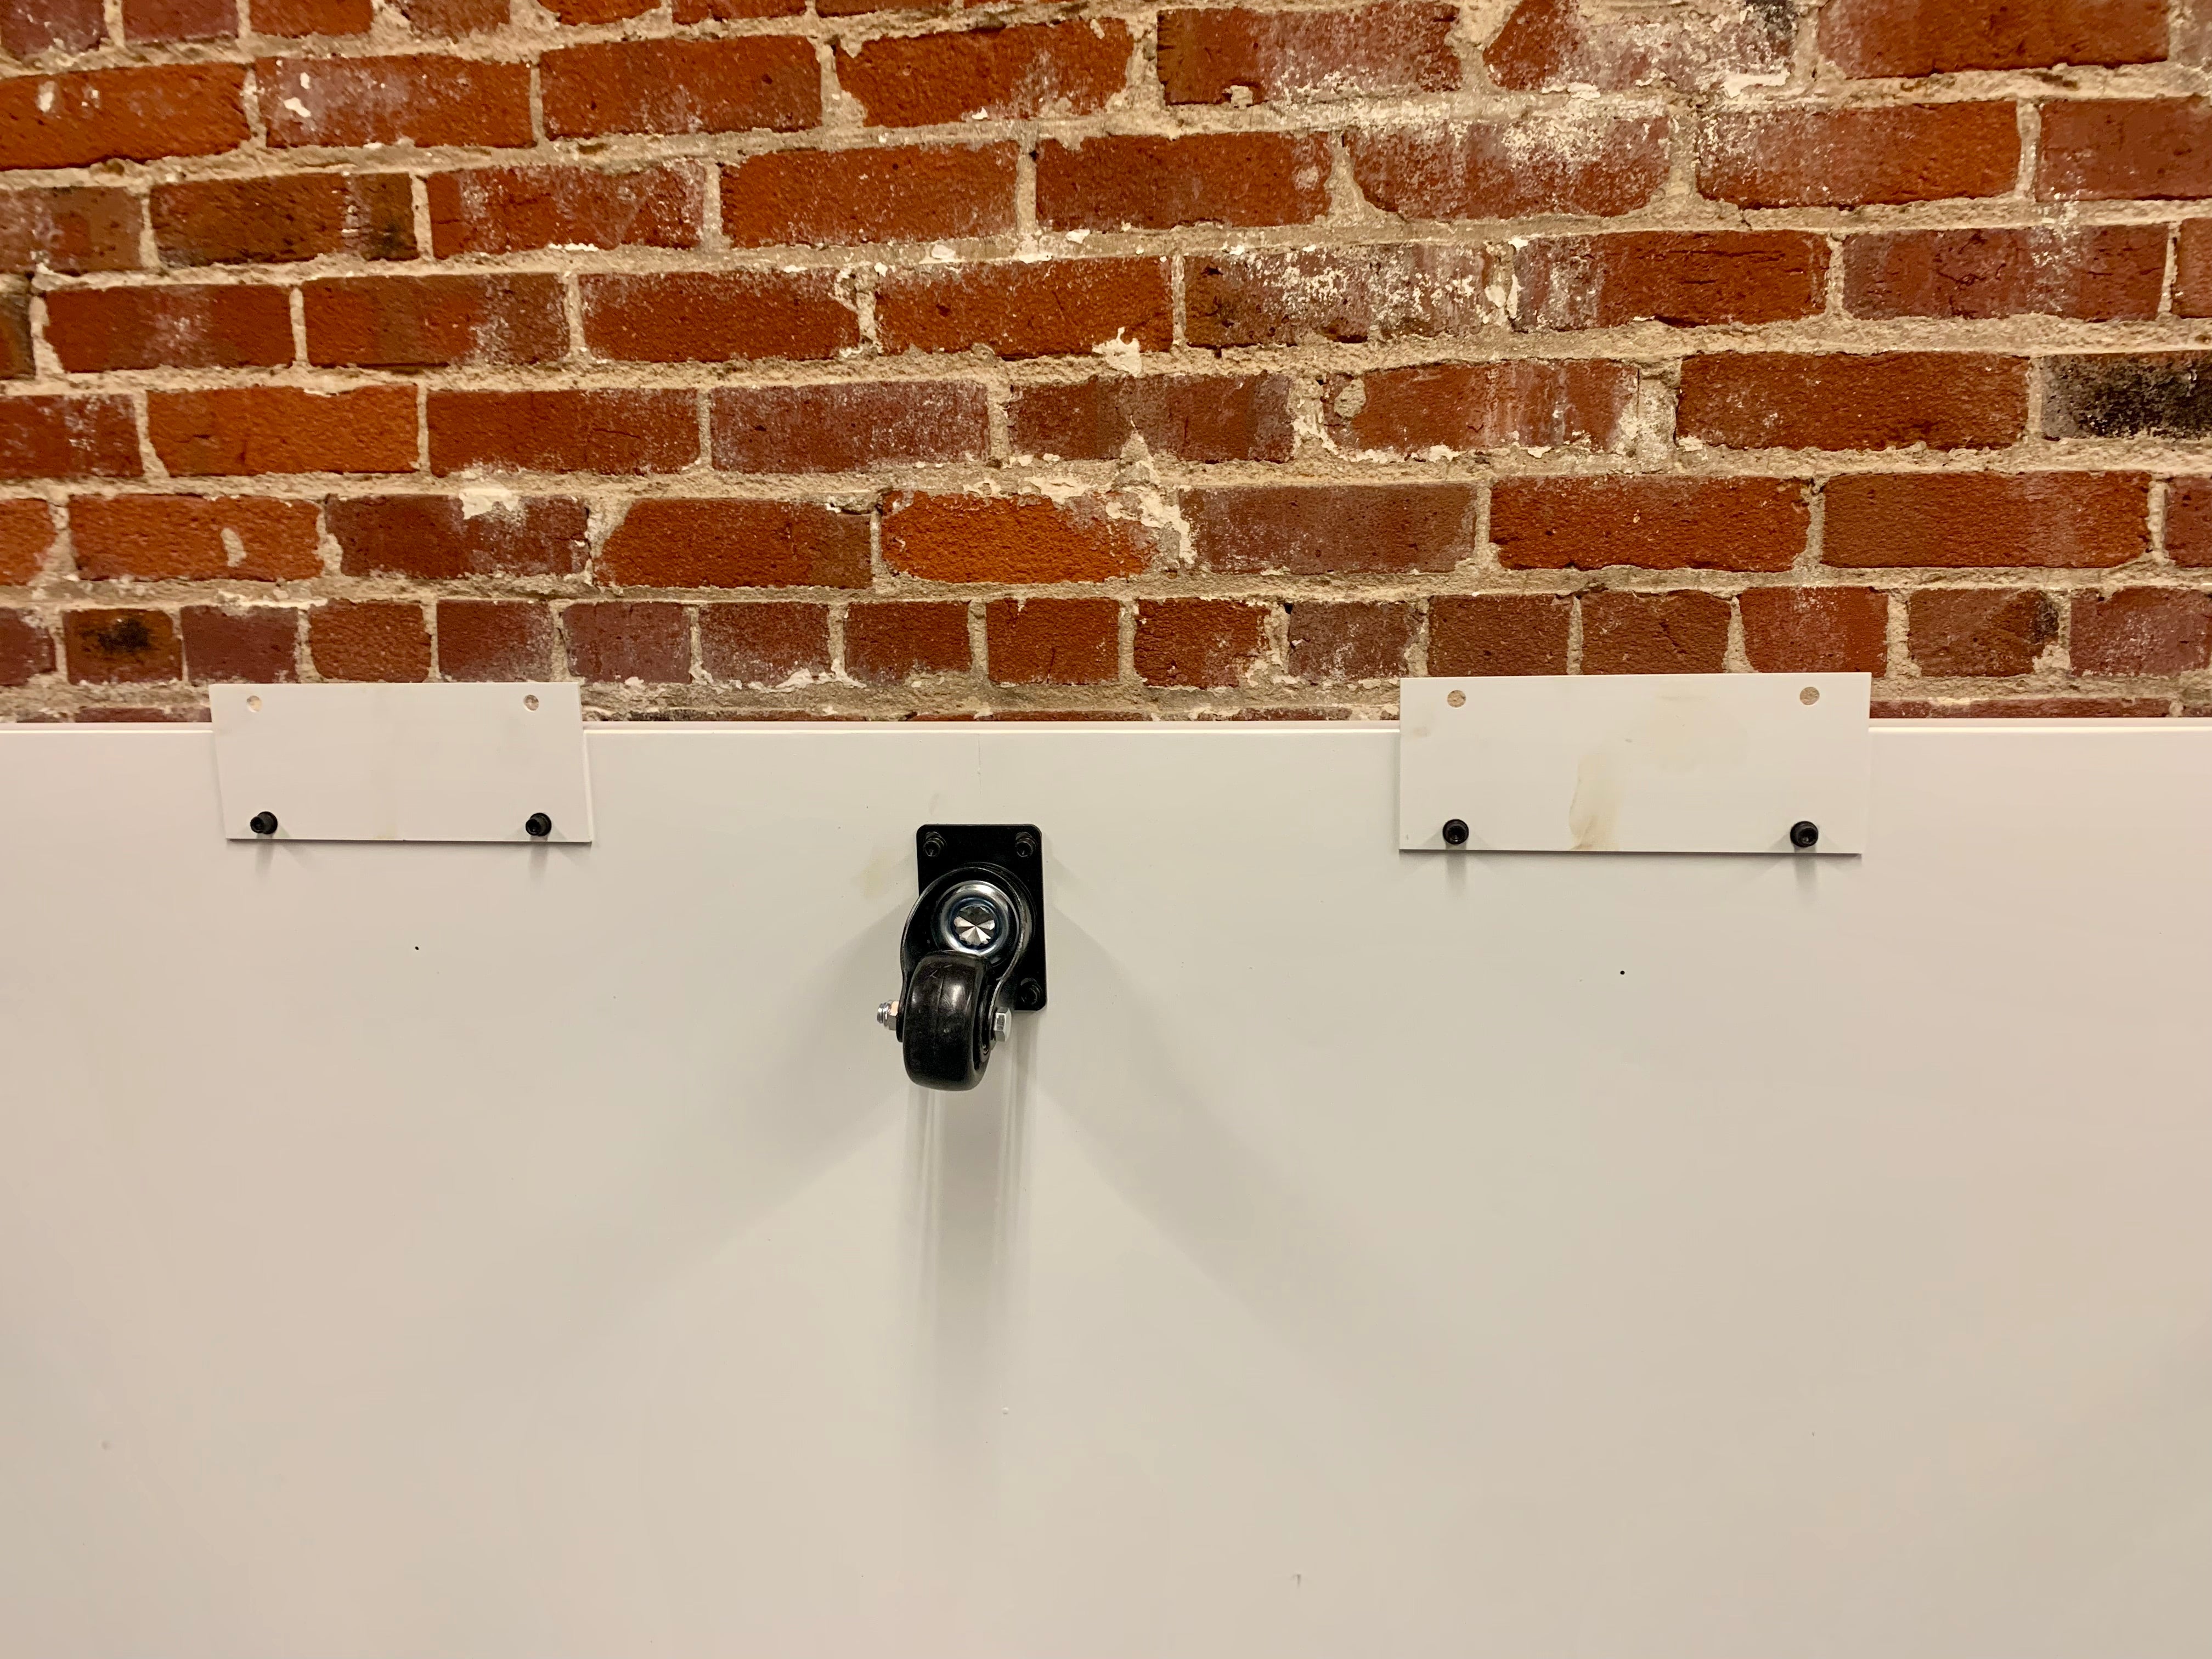
Optional wheels:
Carpet
We recommend not installing the wheels, as the booths are easily slid, with the exception of the Quad
Hardwood/ Concrete
The low profile casters are included for installation on hardwood/ concrete floors.
The large wheels are included with the Quad
Technical Walkthrough
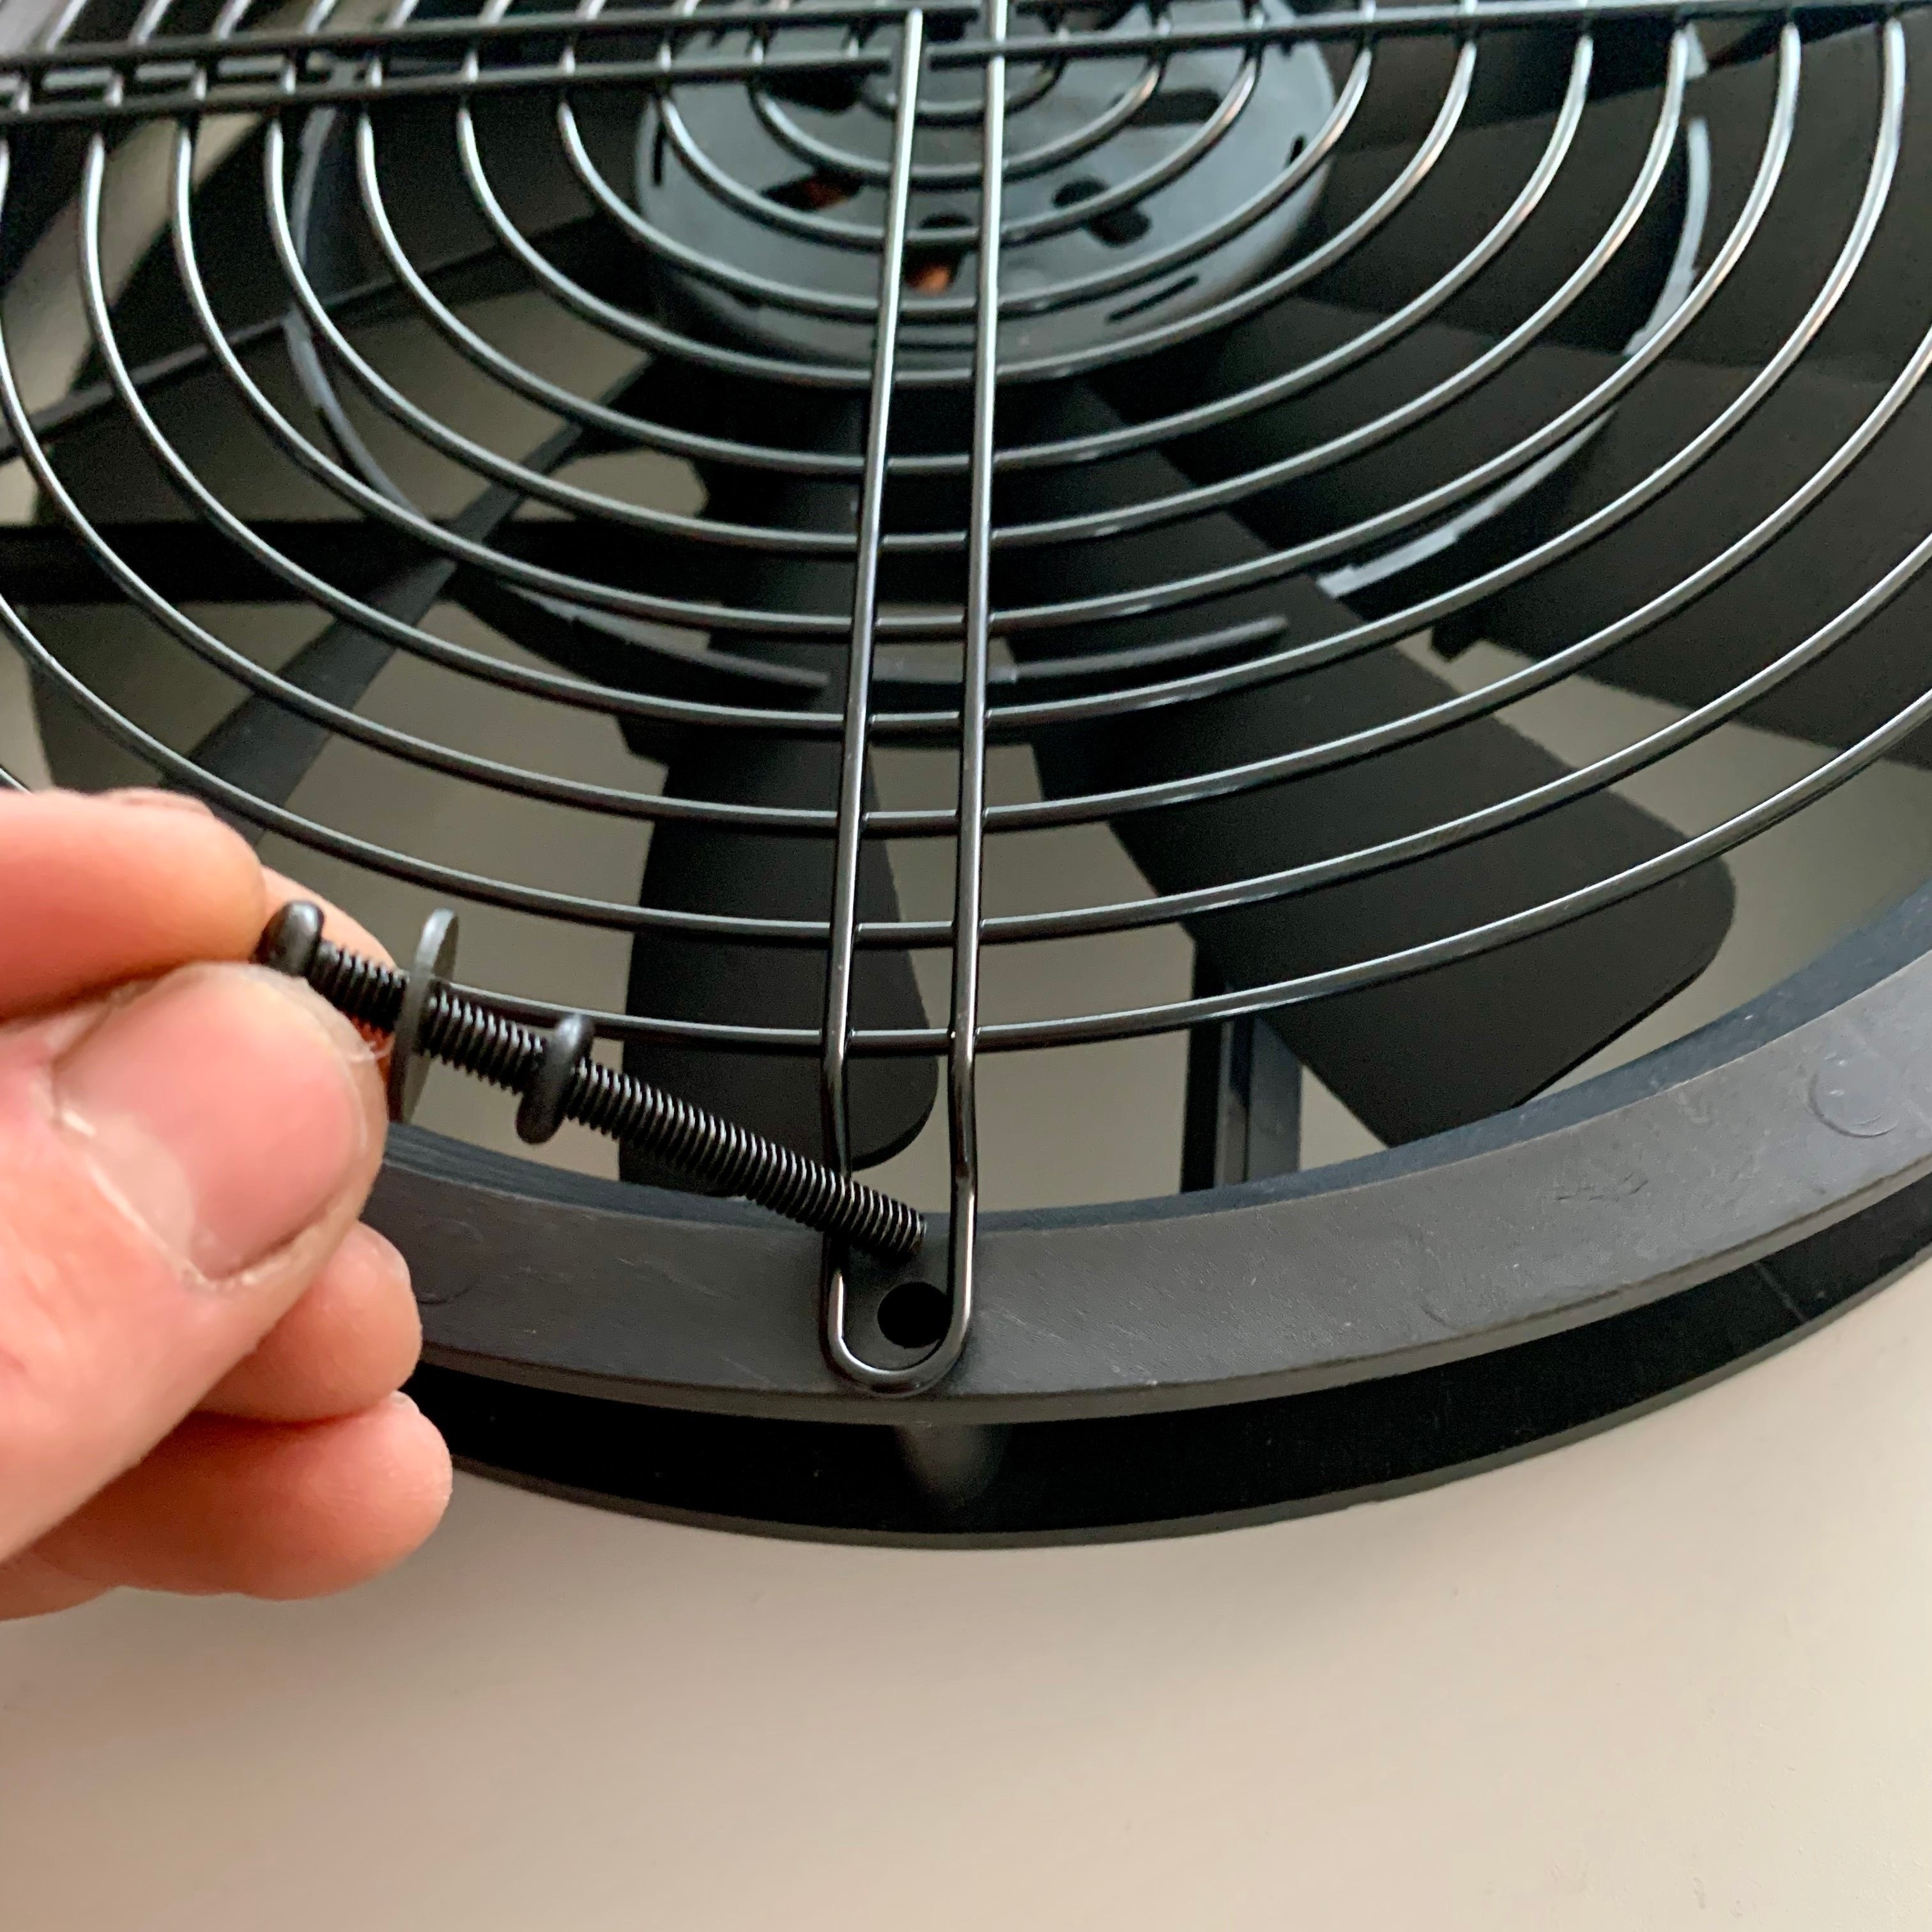
Fan Assembly
- Insert metal washer first, then the rubber washer onto the long black screw provided for the fan.
- For the Solo model, the fan will be installed stocker down.
- For all other models, 1 fan sticker down, 1 fan sticker up.
- The metal cage is installed arching upward.
* Double check that no wires are interfering with the fan blades before installing.
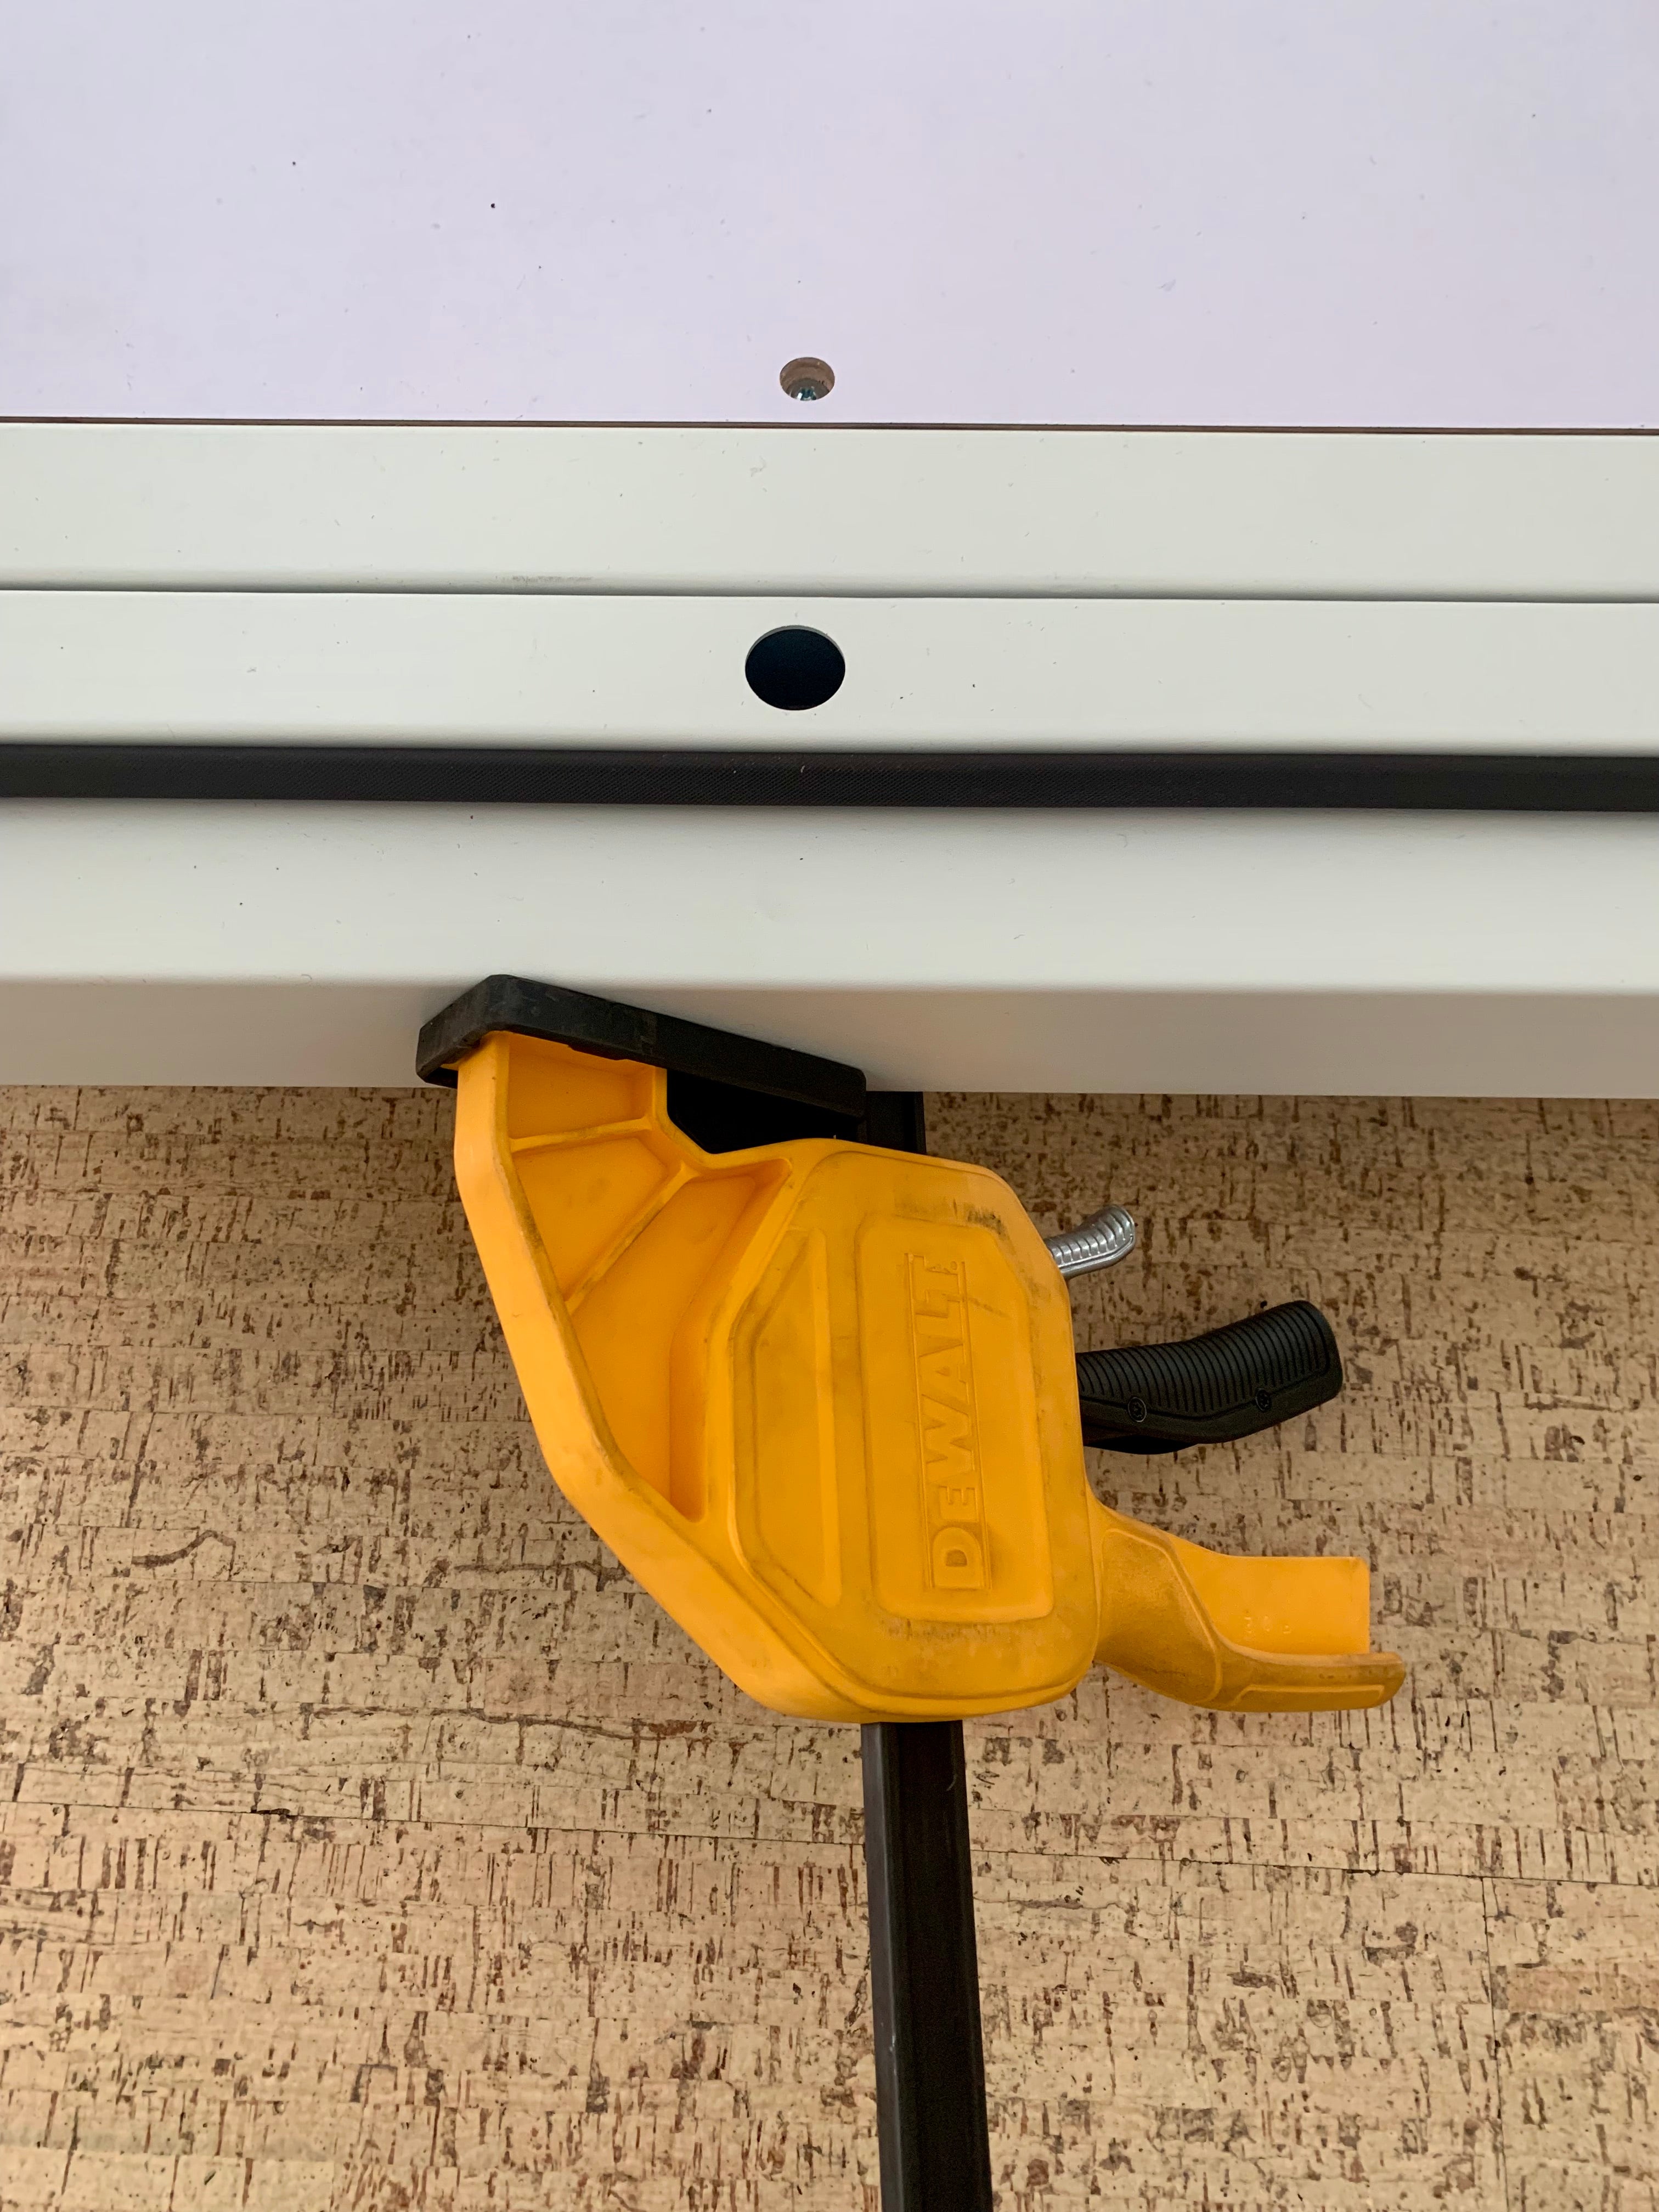
Alignment
- Ensure that the pieces are properly aligned before bolting together
- You will squeeze some pieces together to achieve alignment
- If needed, loosen previous bolts to adjust and achieve proper alignment
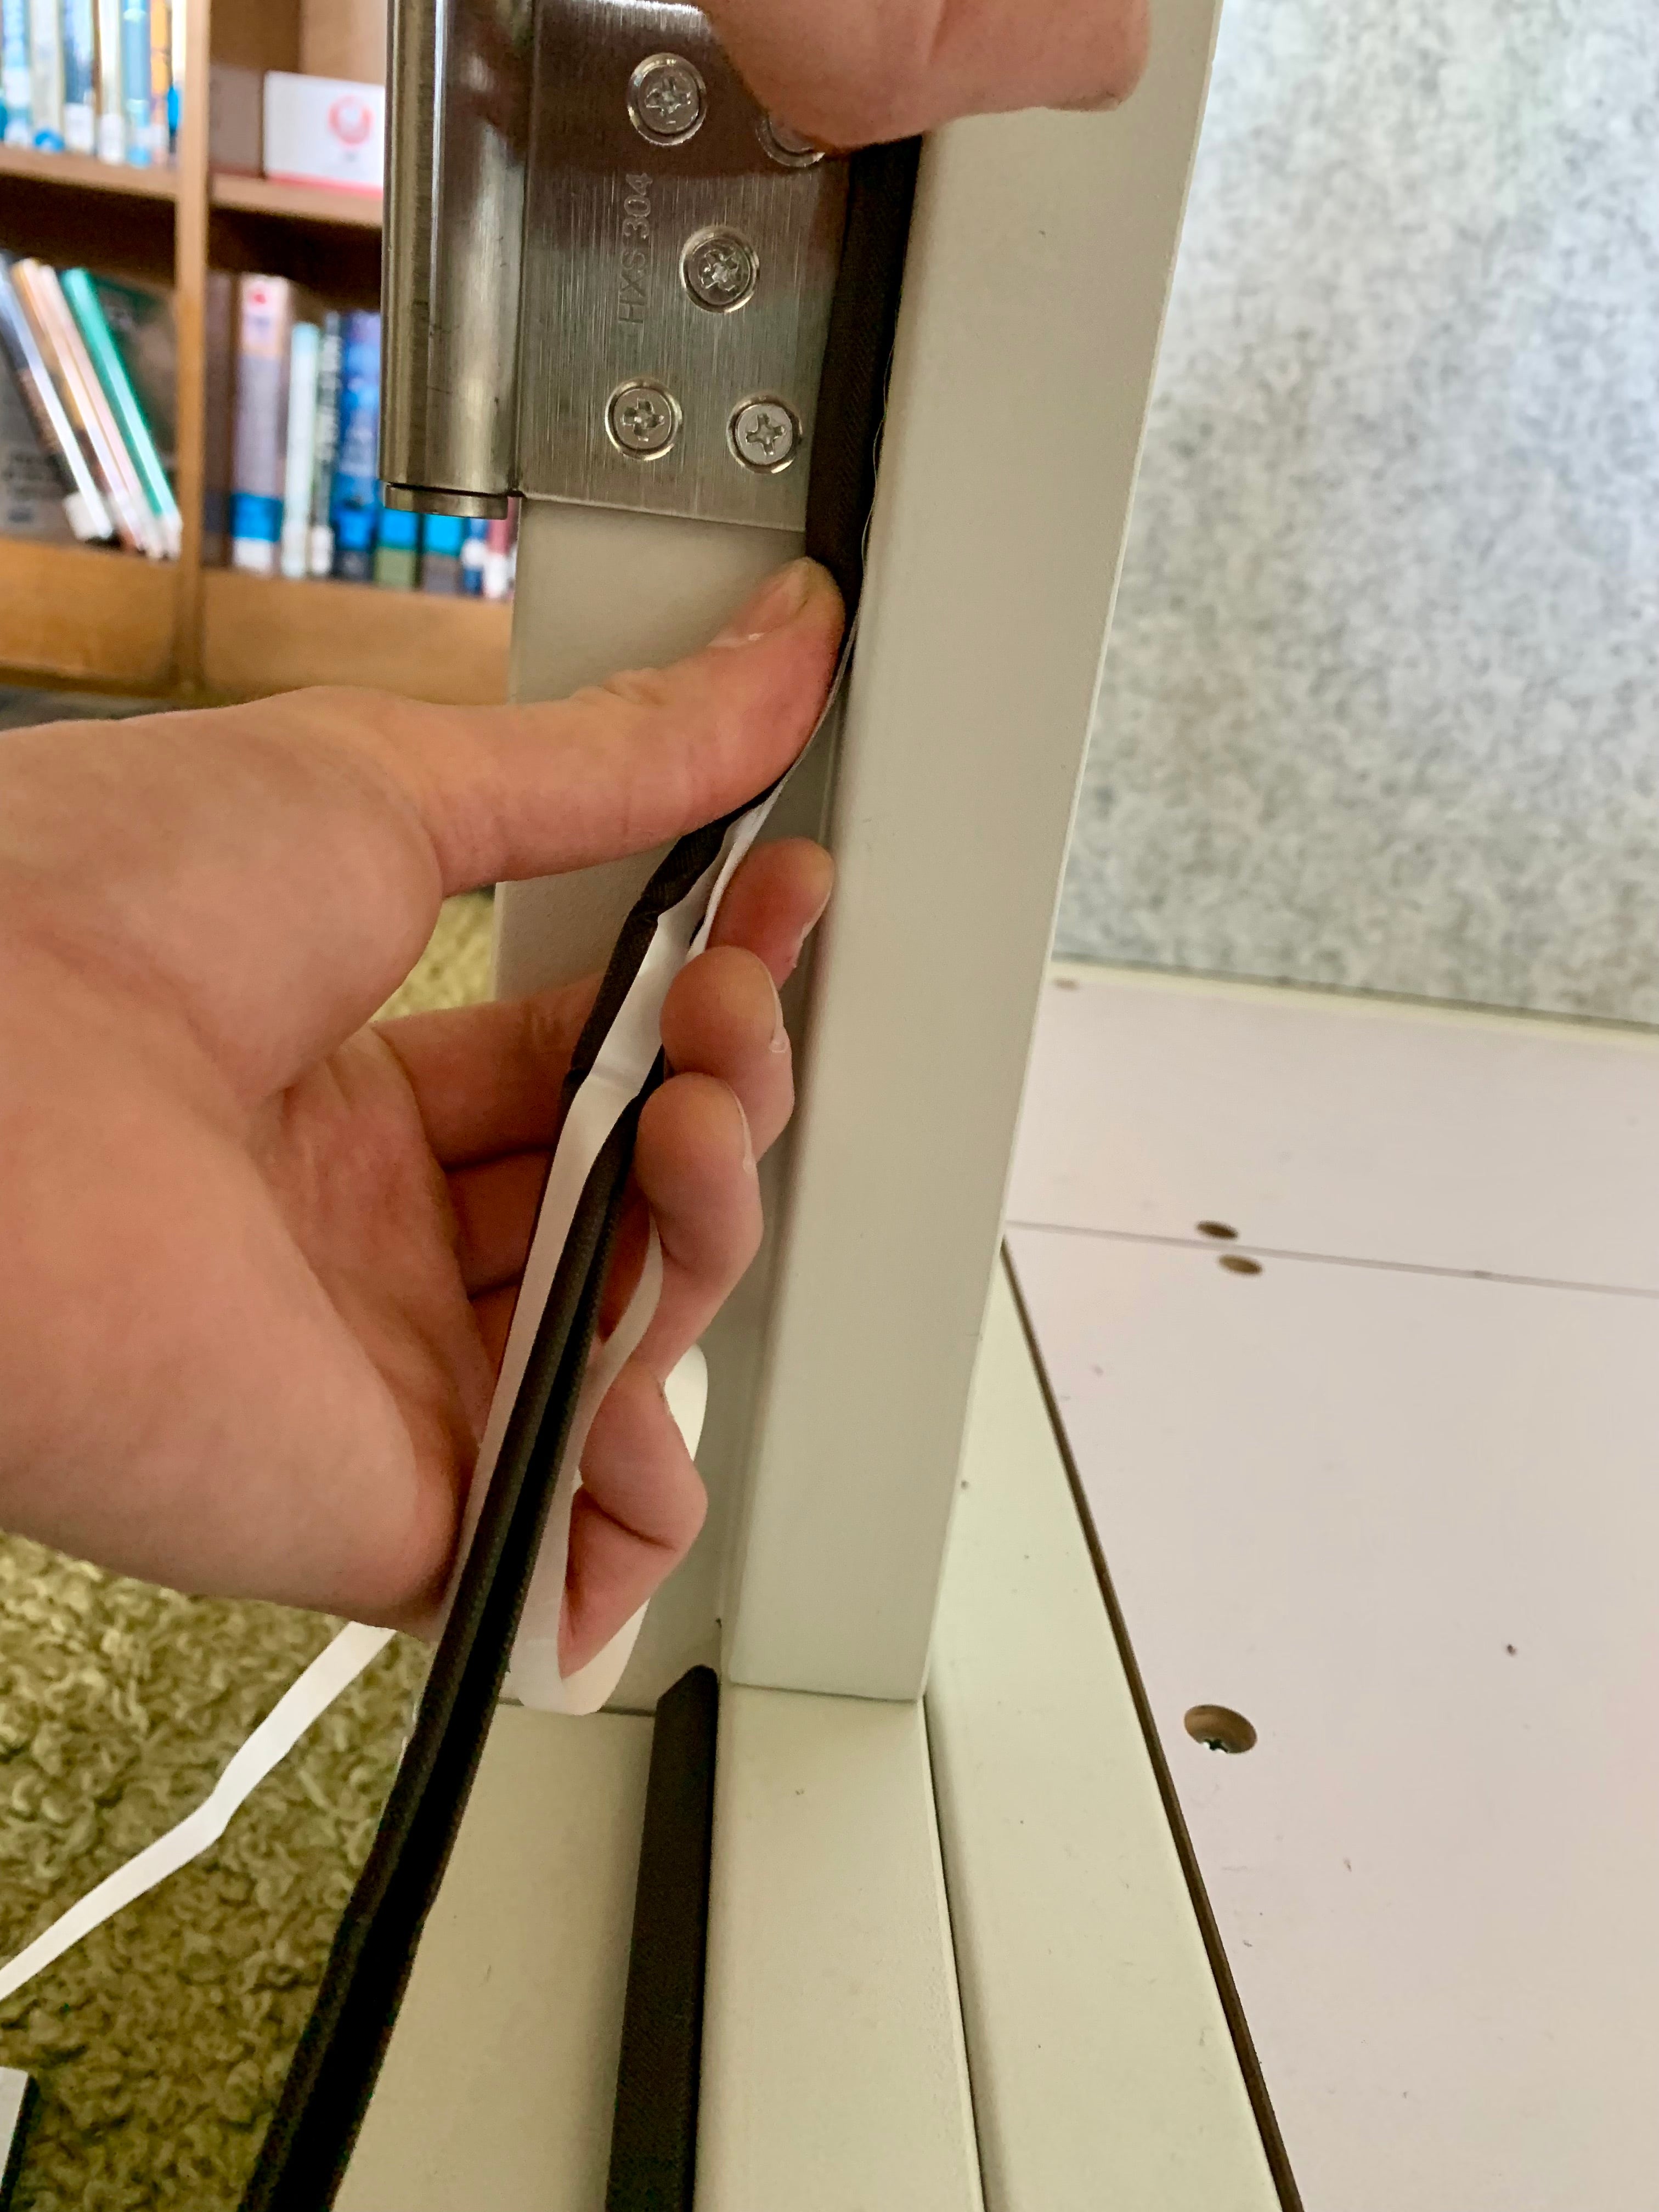
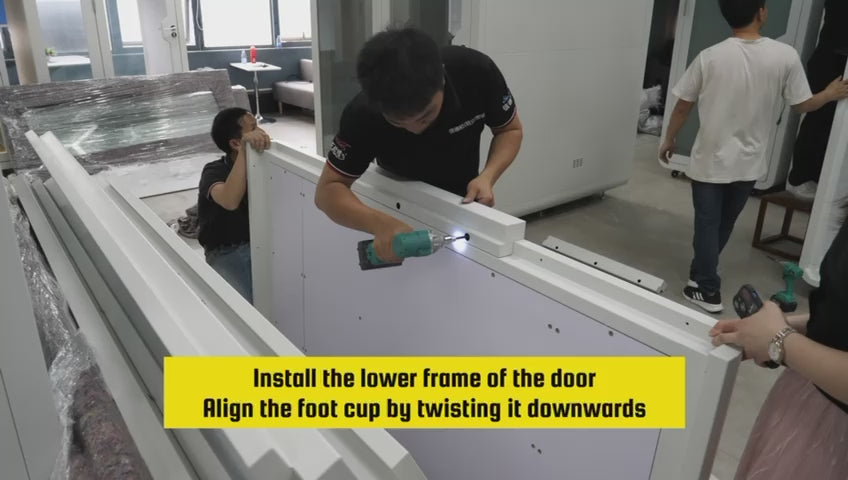
Door Frame Gasket
- Wipe down the door frame before installing the gasket
- The gasket will be installed on the lip of the door frame as shown
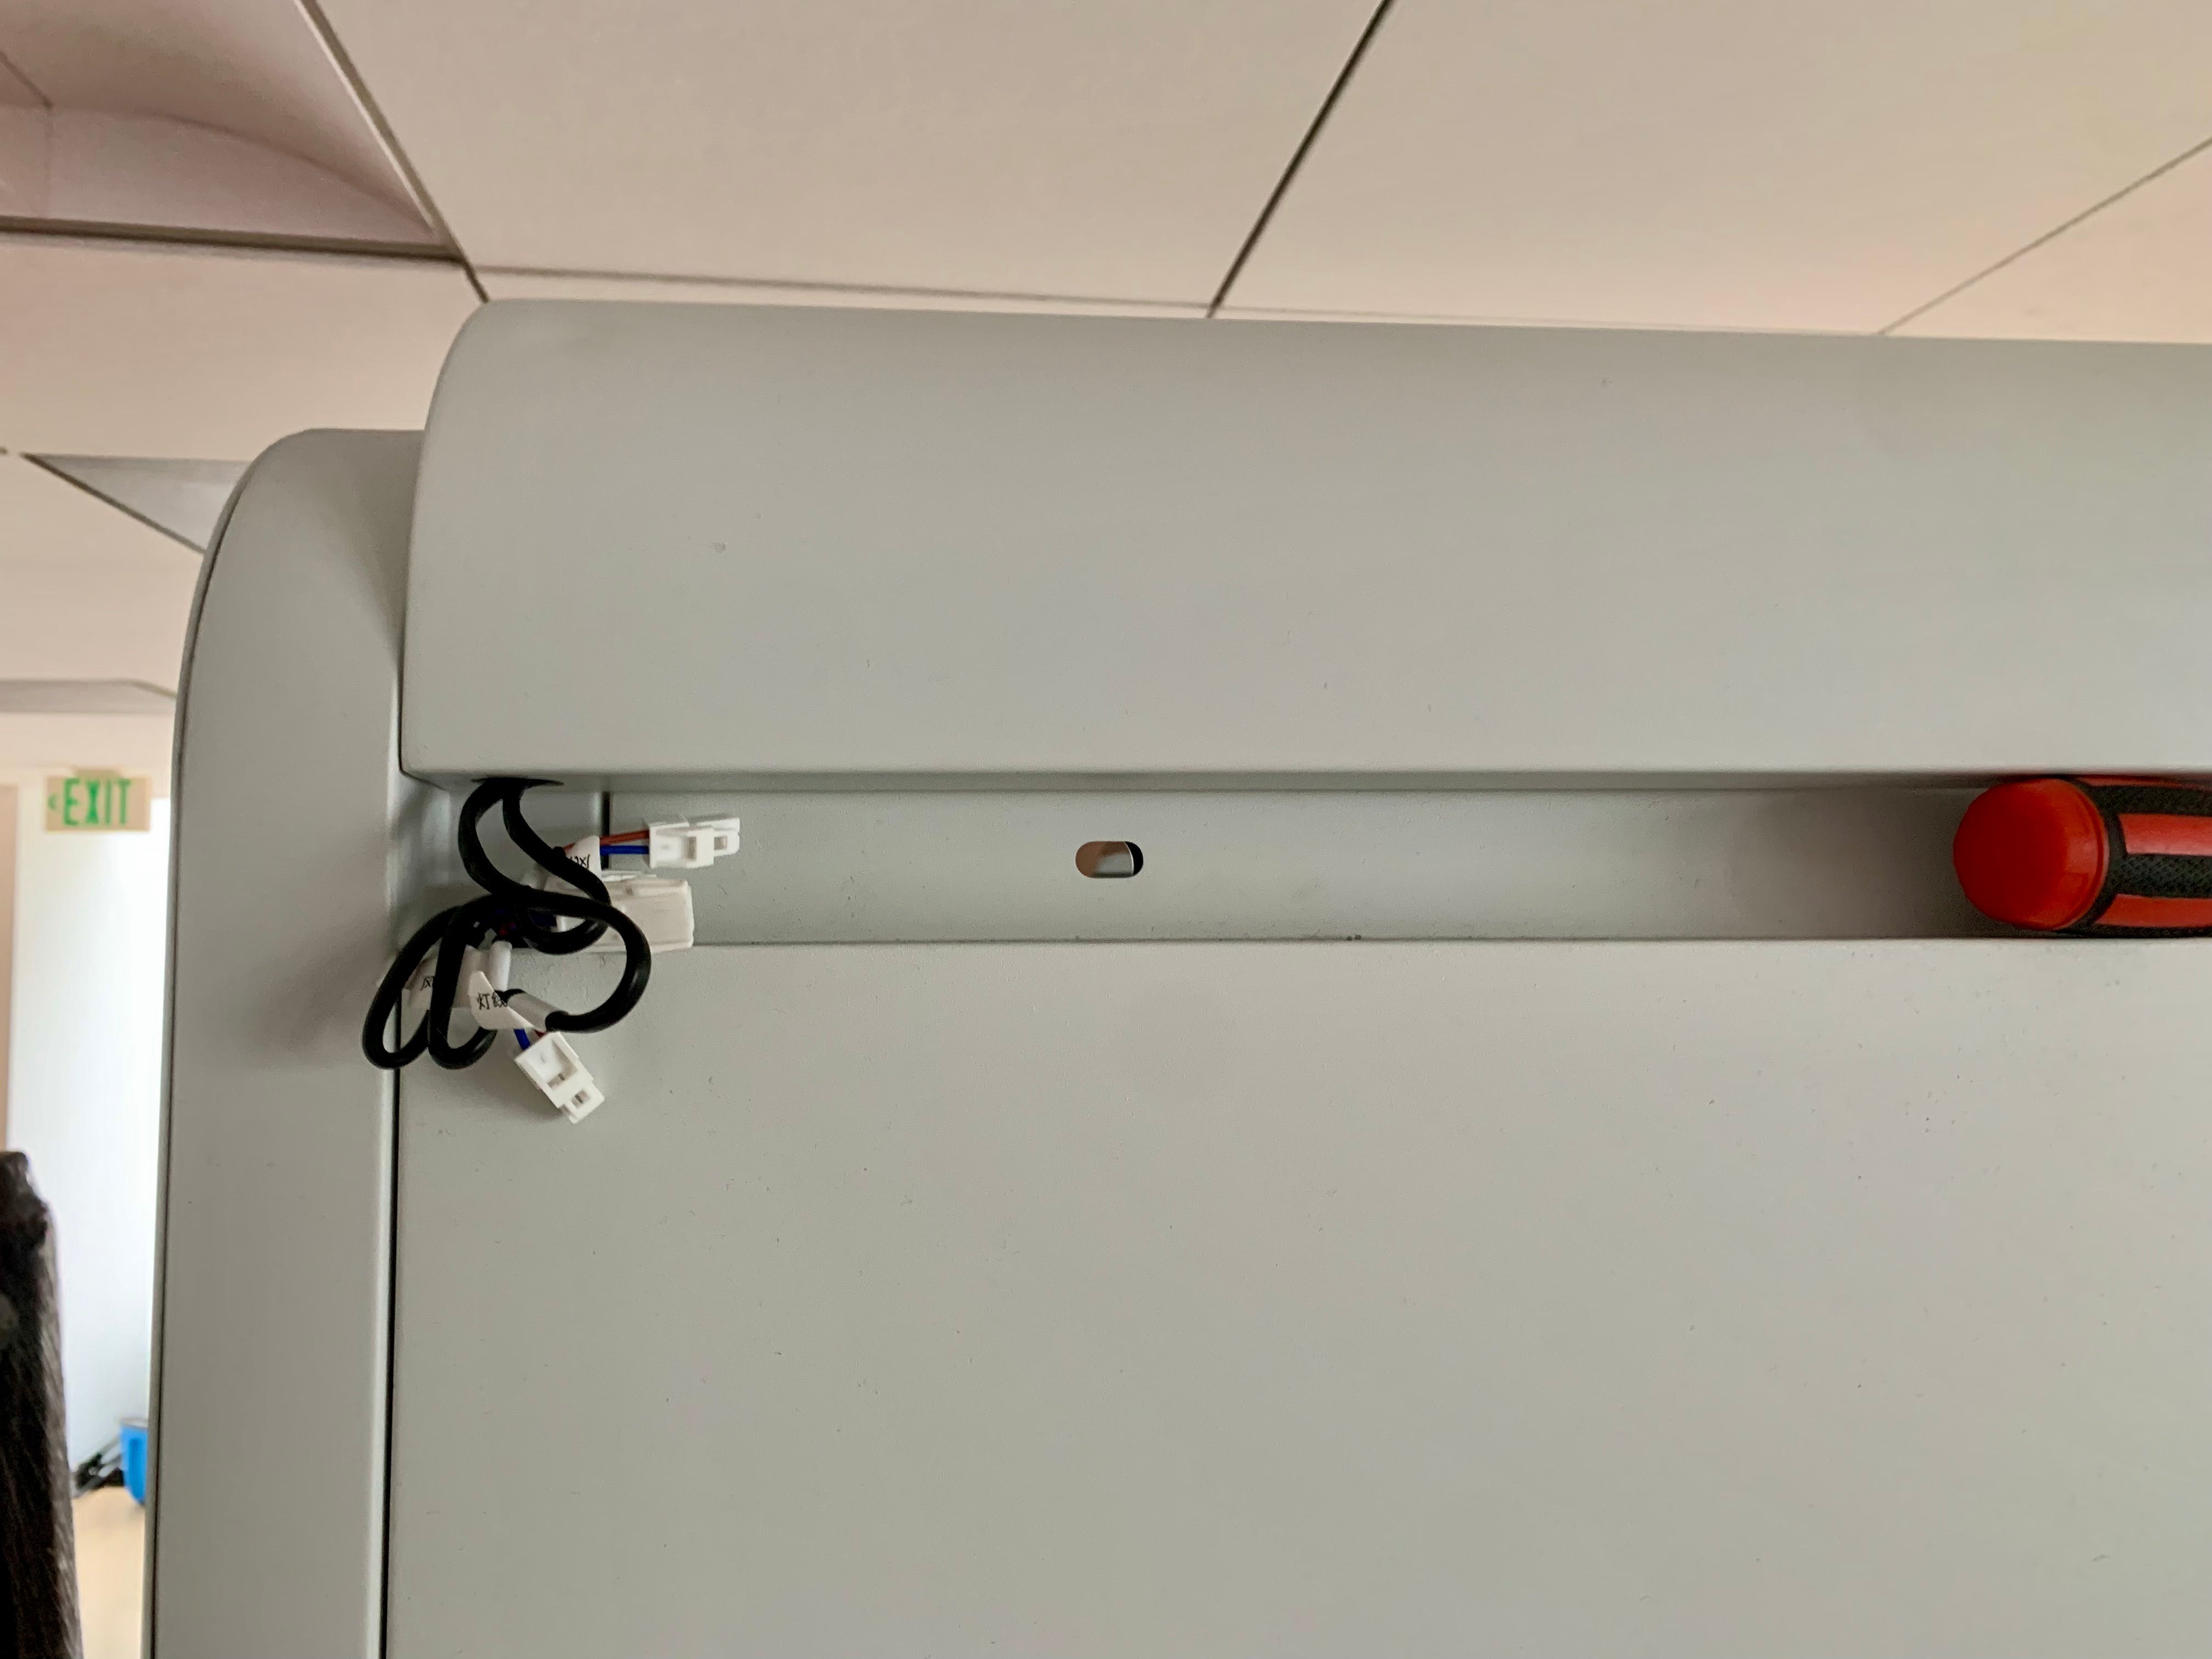
Plugging in the Fan
- Use a spacer to keep the roof propped up while connecting the cables.
- Match the symbols on each of the cables.
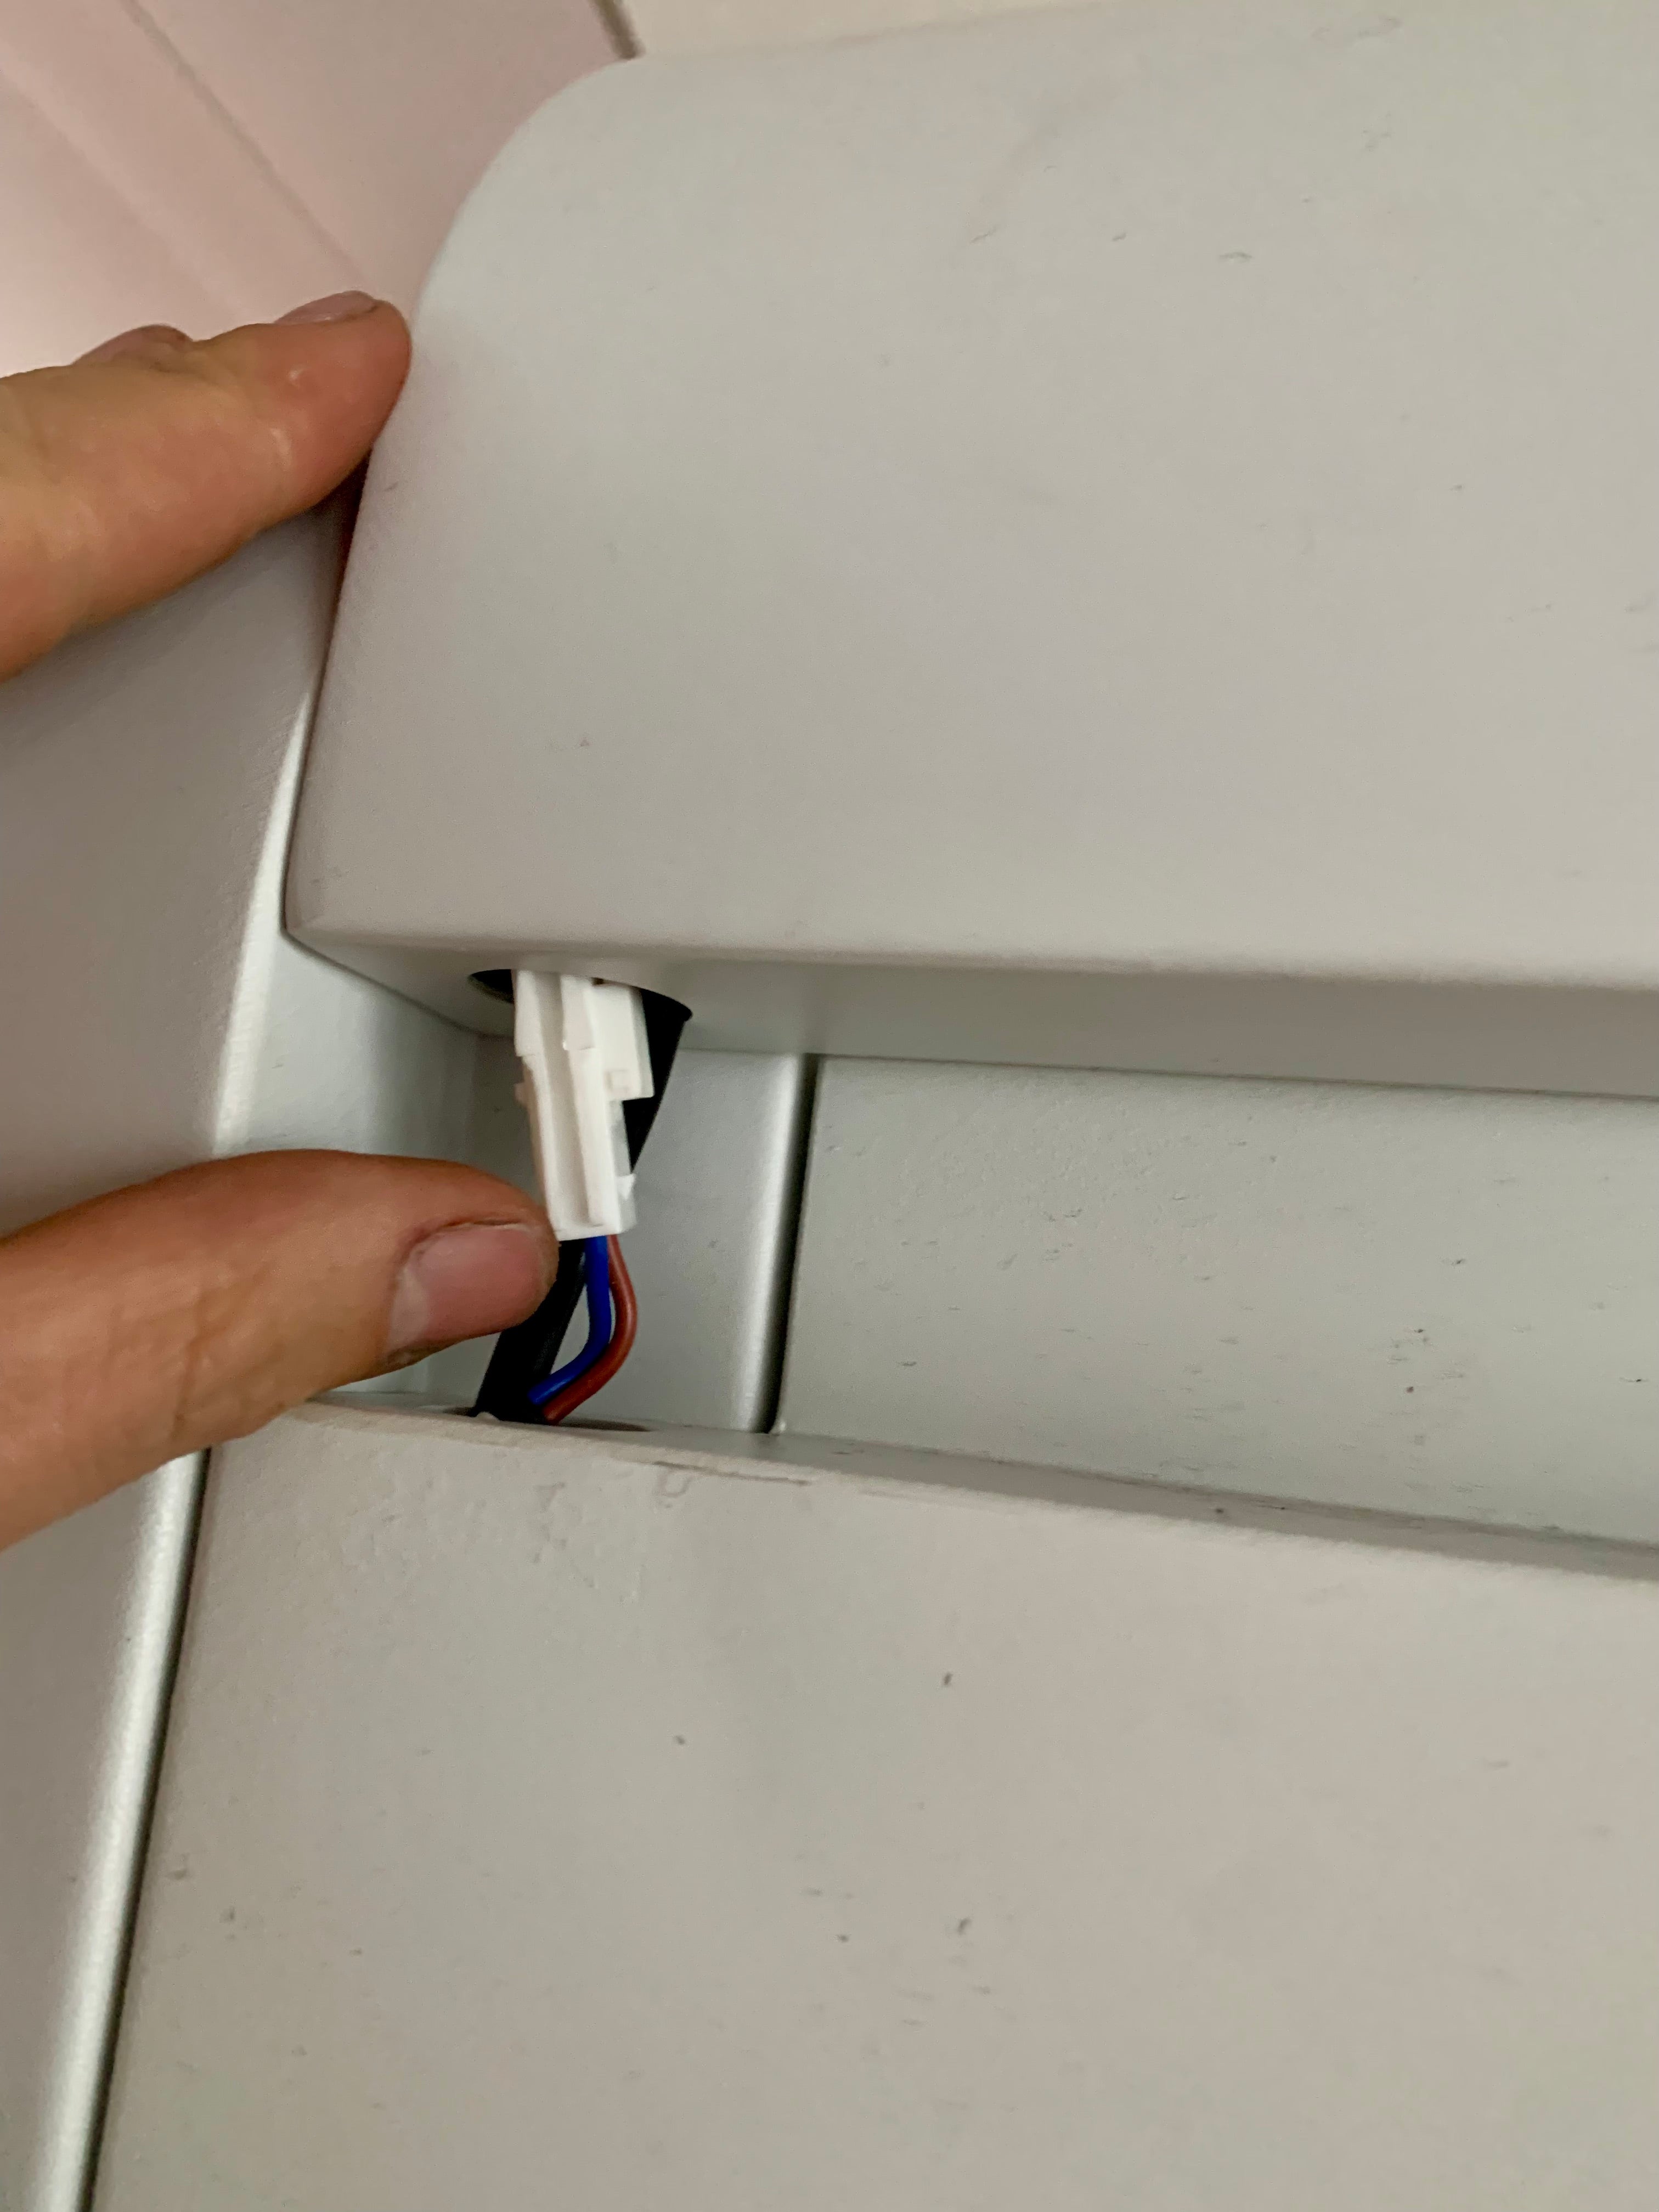
Plugging in the Fan
- Now feed the cables back into the ports and let the roof down gently.
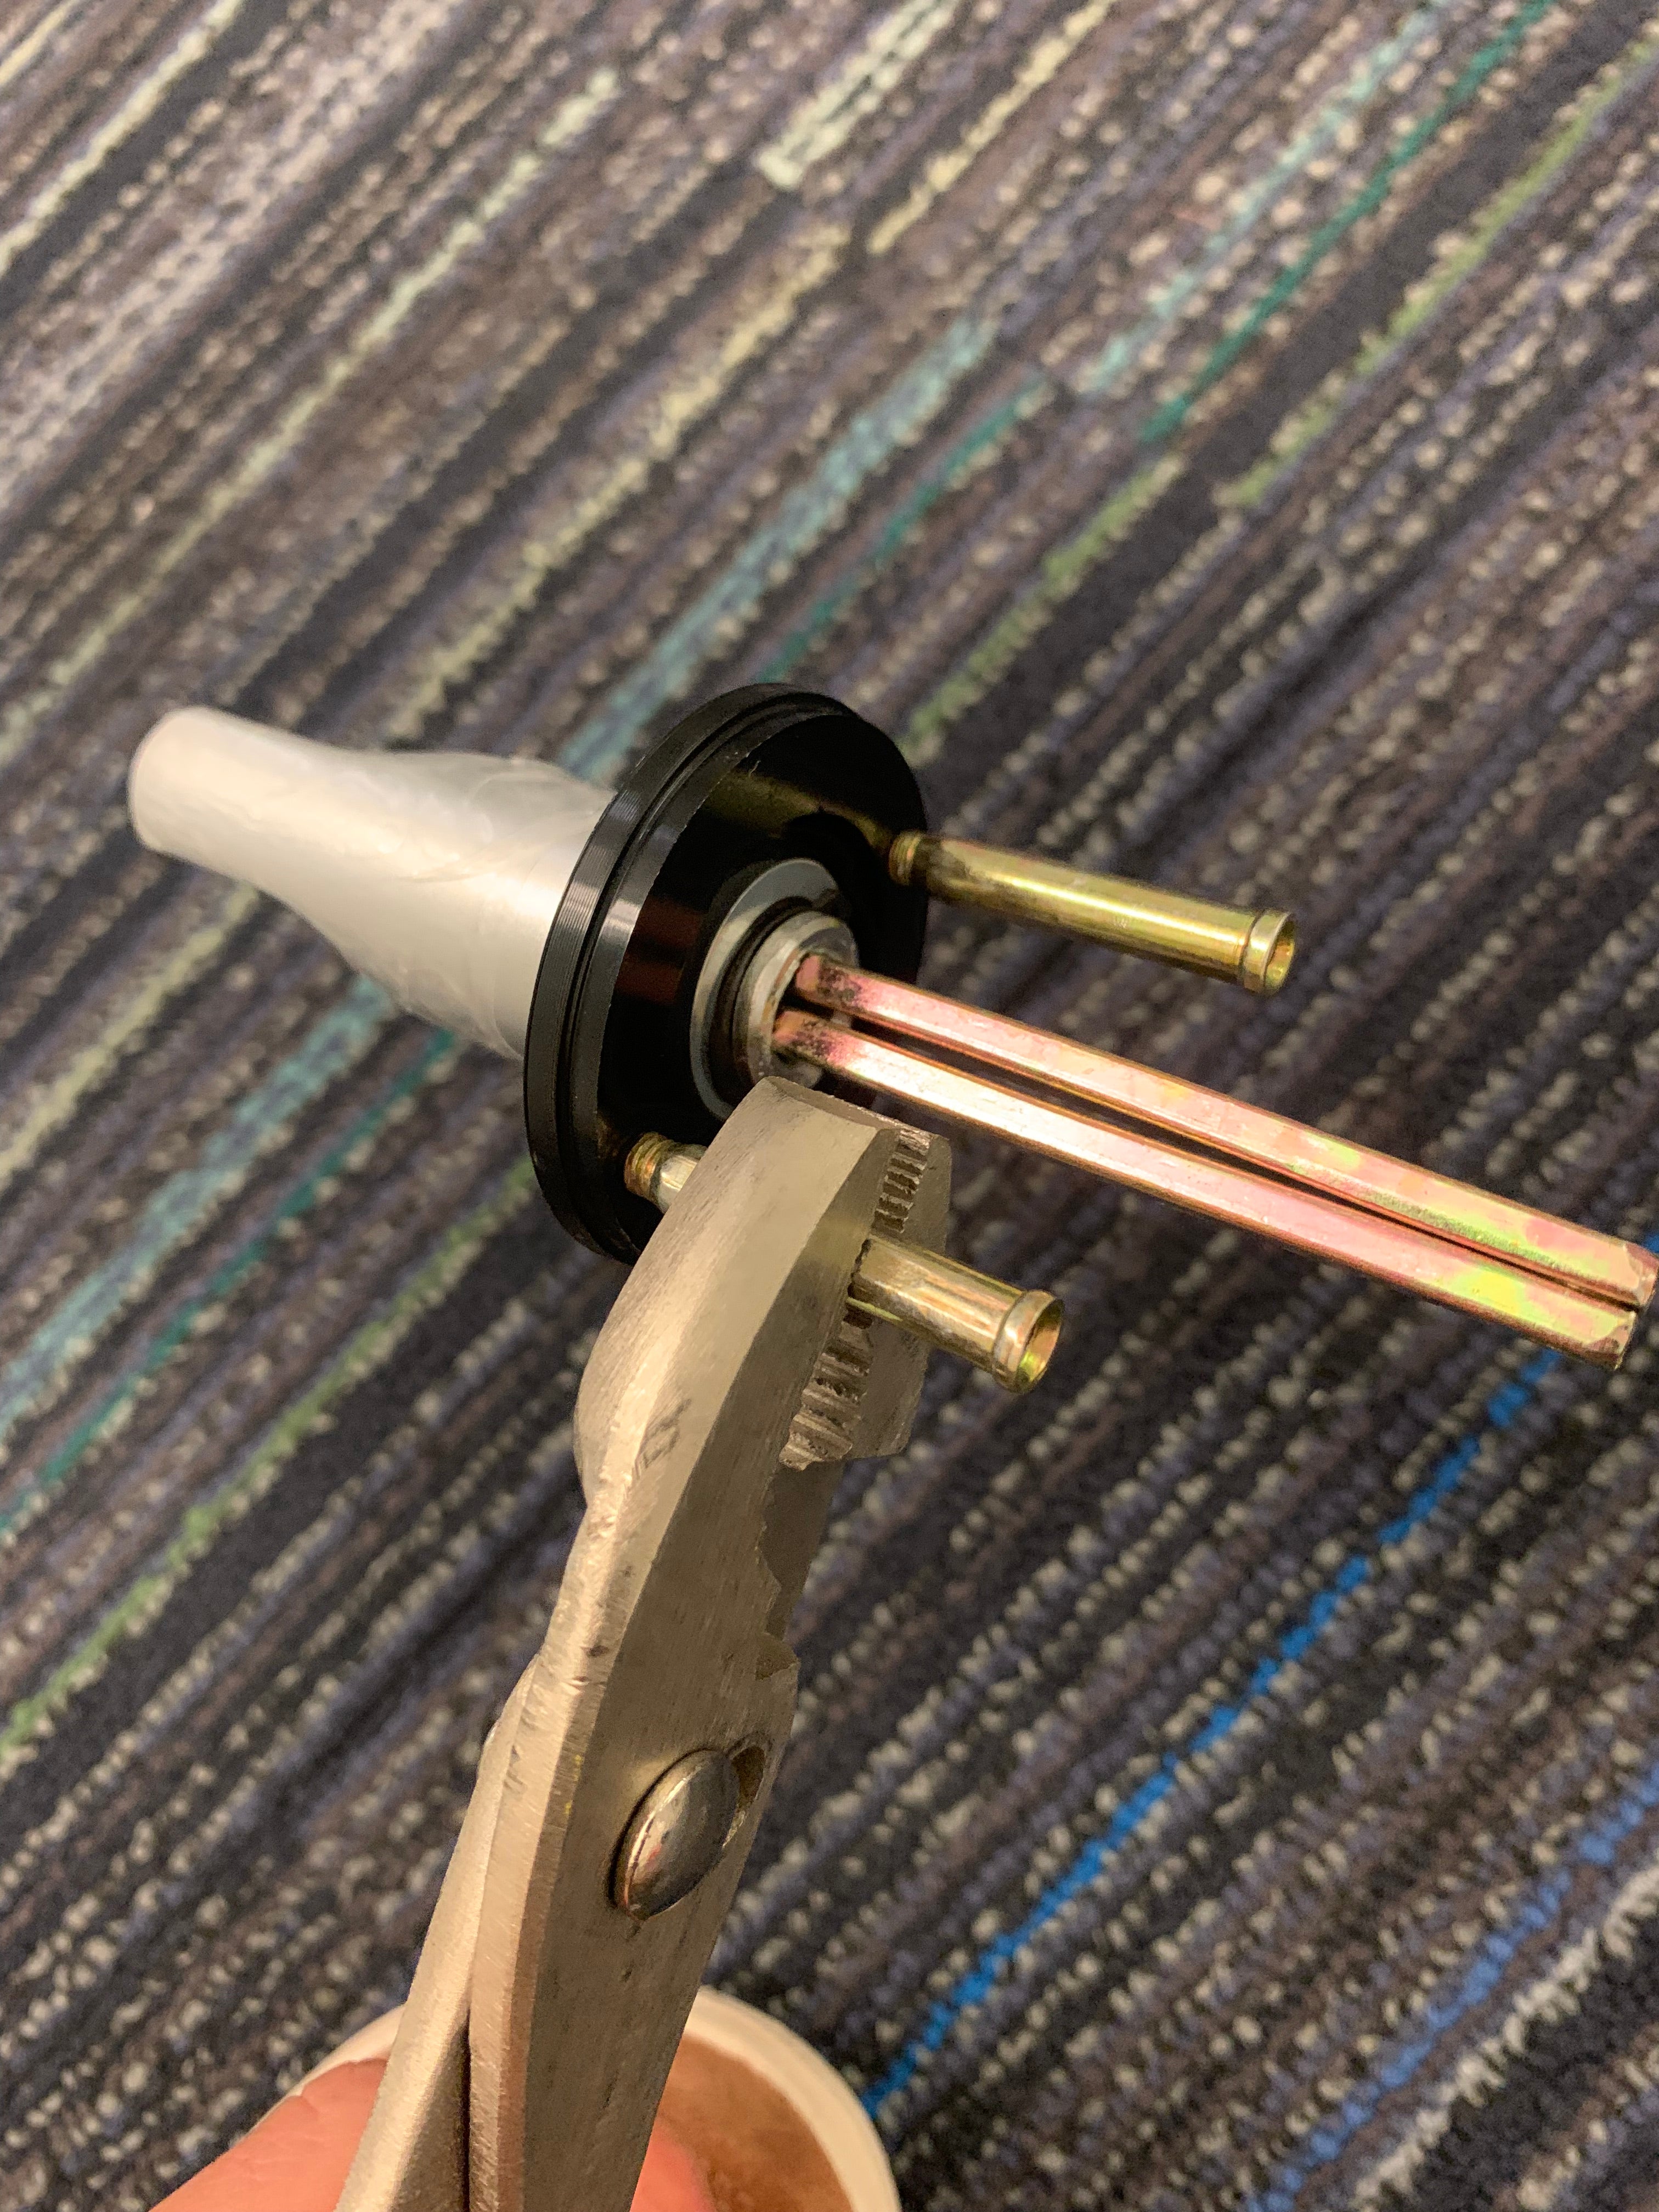
Door Handle
- Unscrew the door handle pieces from themselves.
- Insert the door handle assembly into the holes in the door- ensuring the handle with the screws showing is on the inside.
- Align the 2 handles and screw back together- do not over tighten as this will stiffen the mechanics.
- Press the door handles in together tightly and hold while tightening the hex bolts on the handles.
Door Handle
- Tighten screw extenders before installing on the door
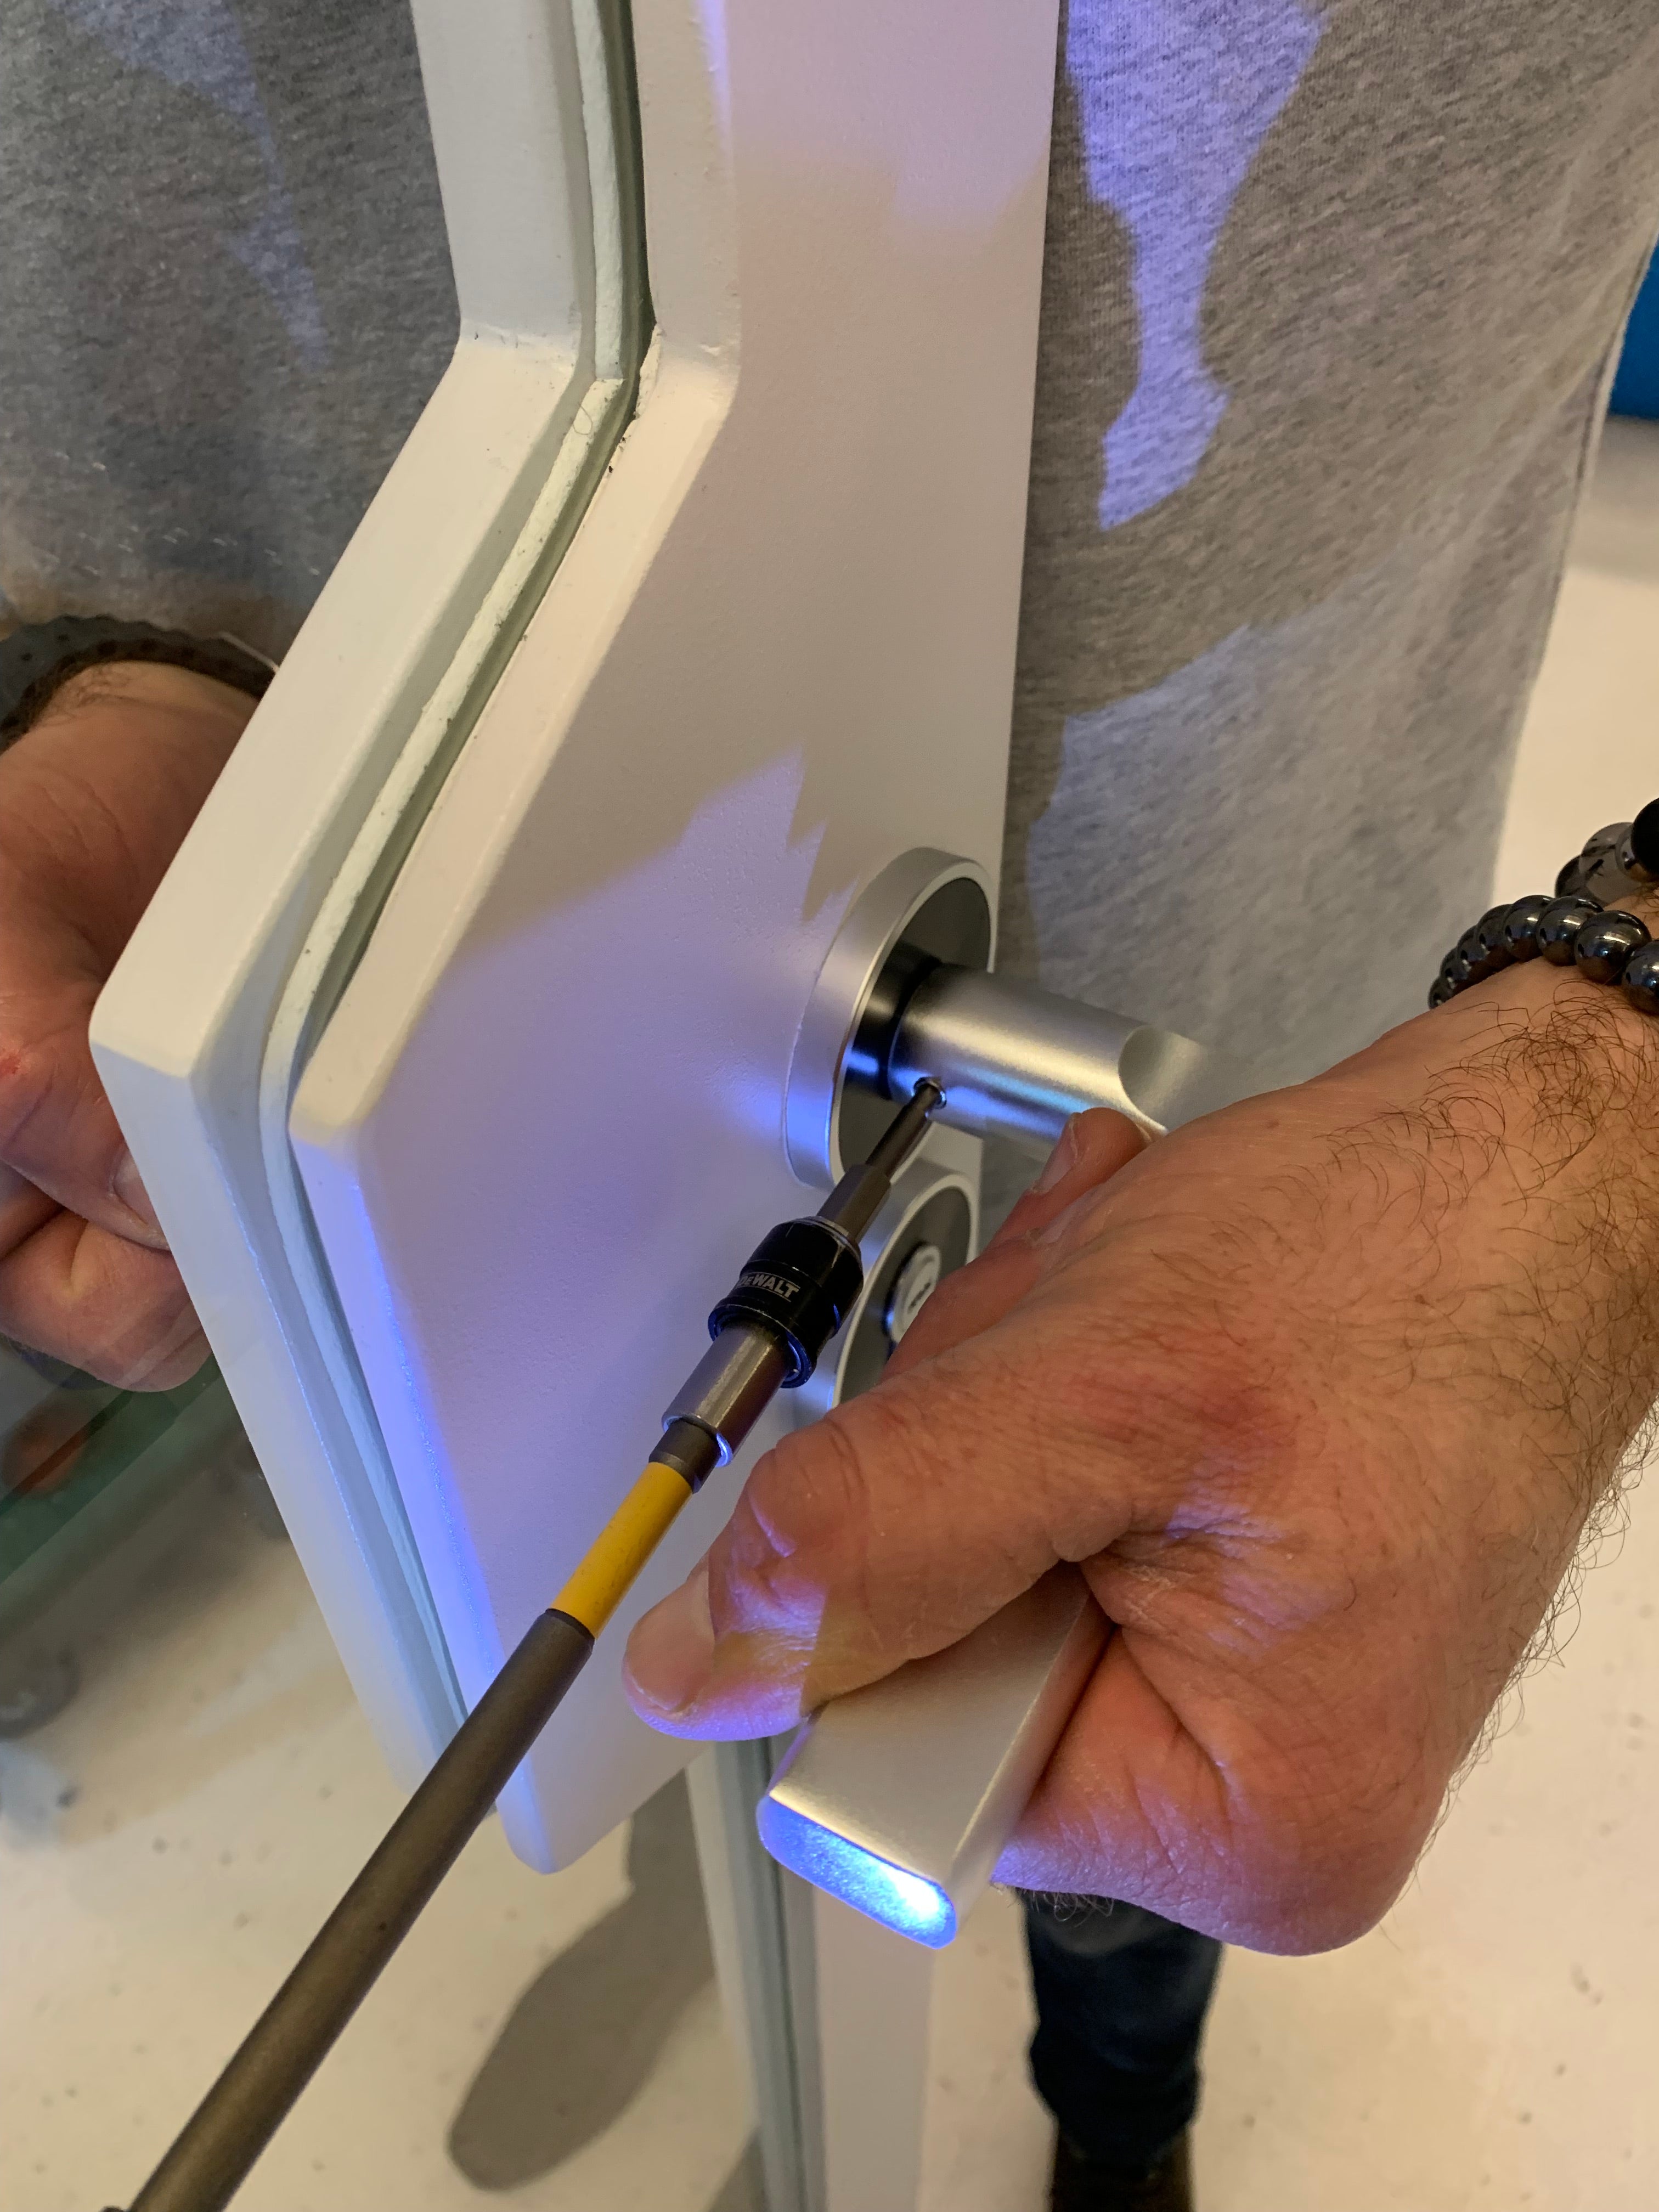
Door Handle
- Squeeze the door handles together firmly while tightening the hex bolts in each handle
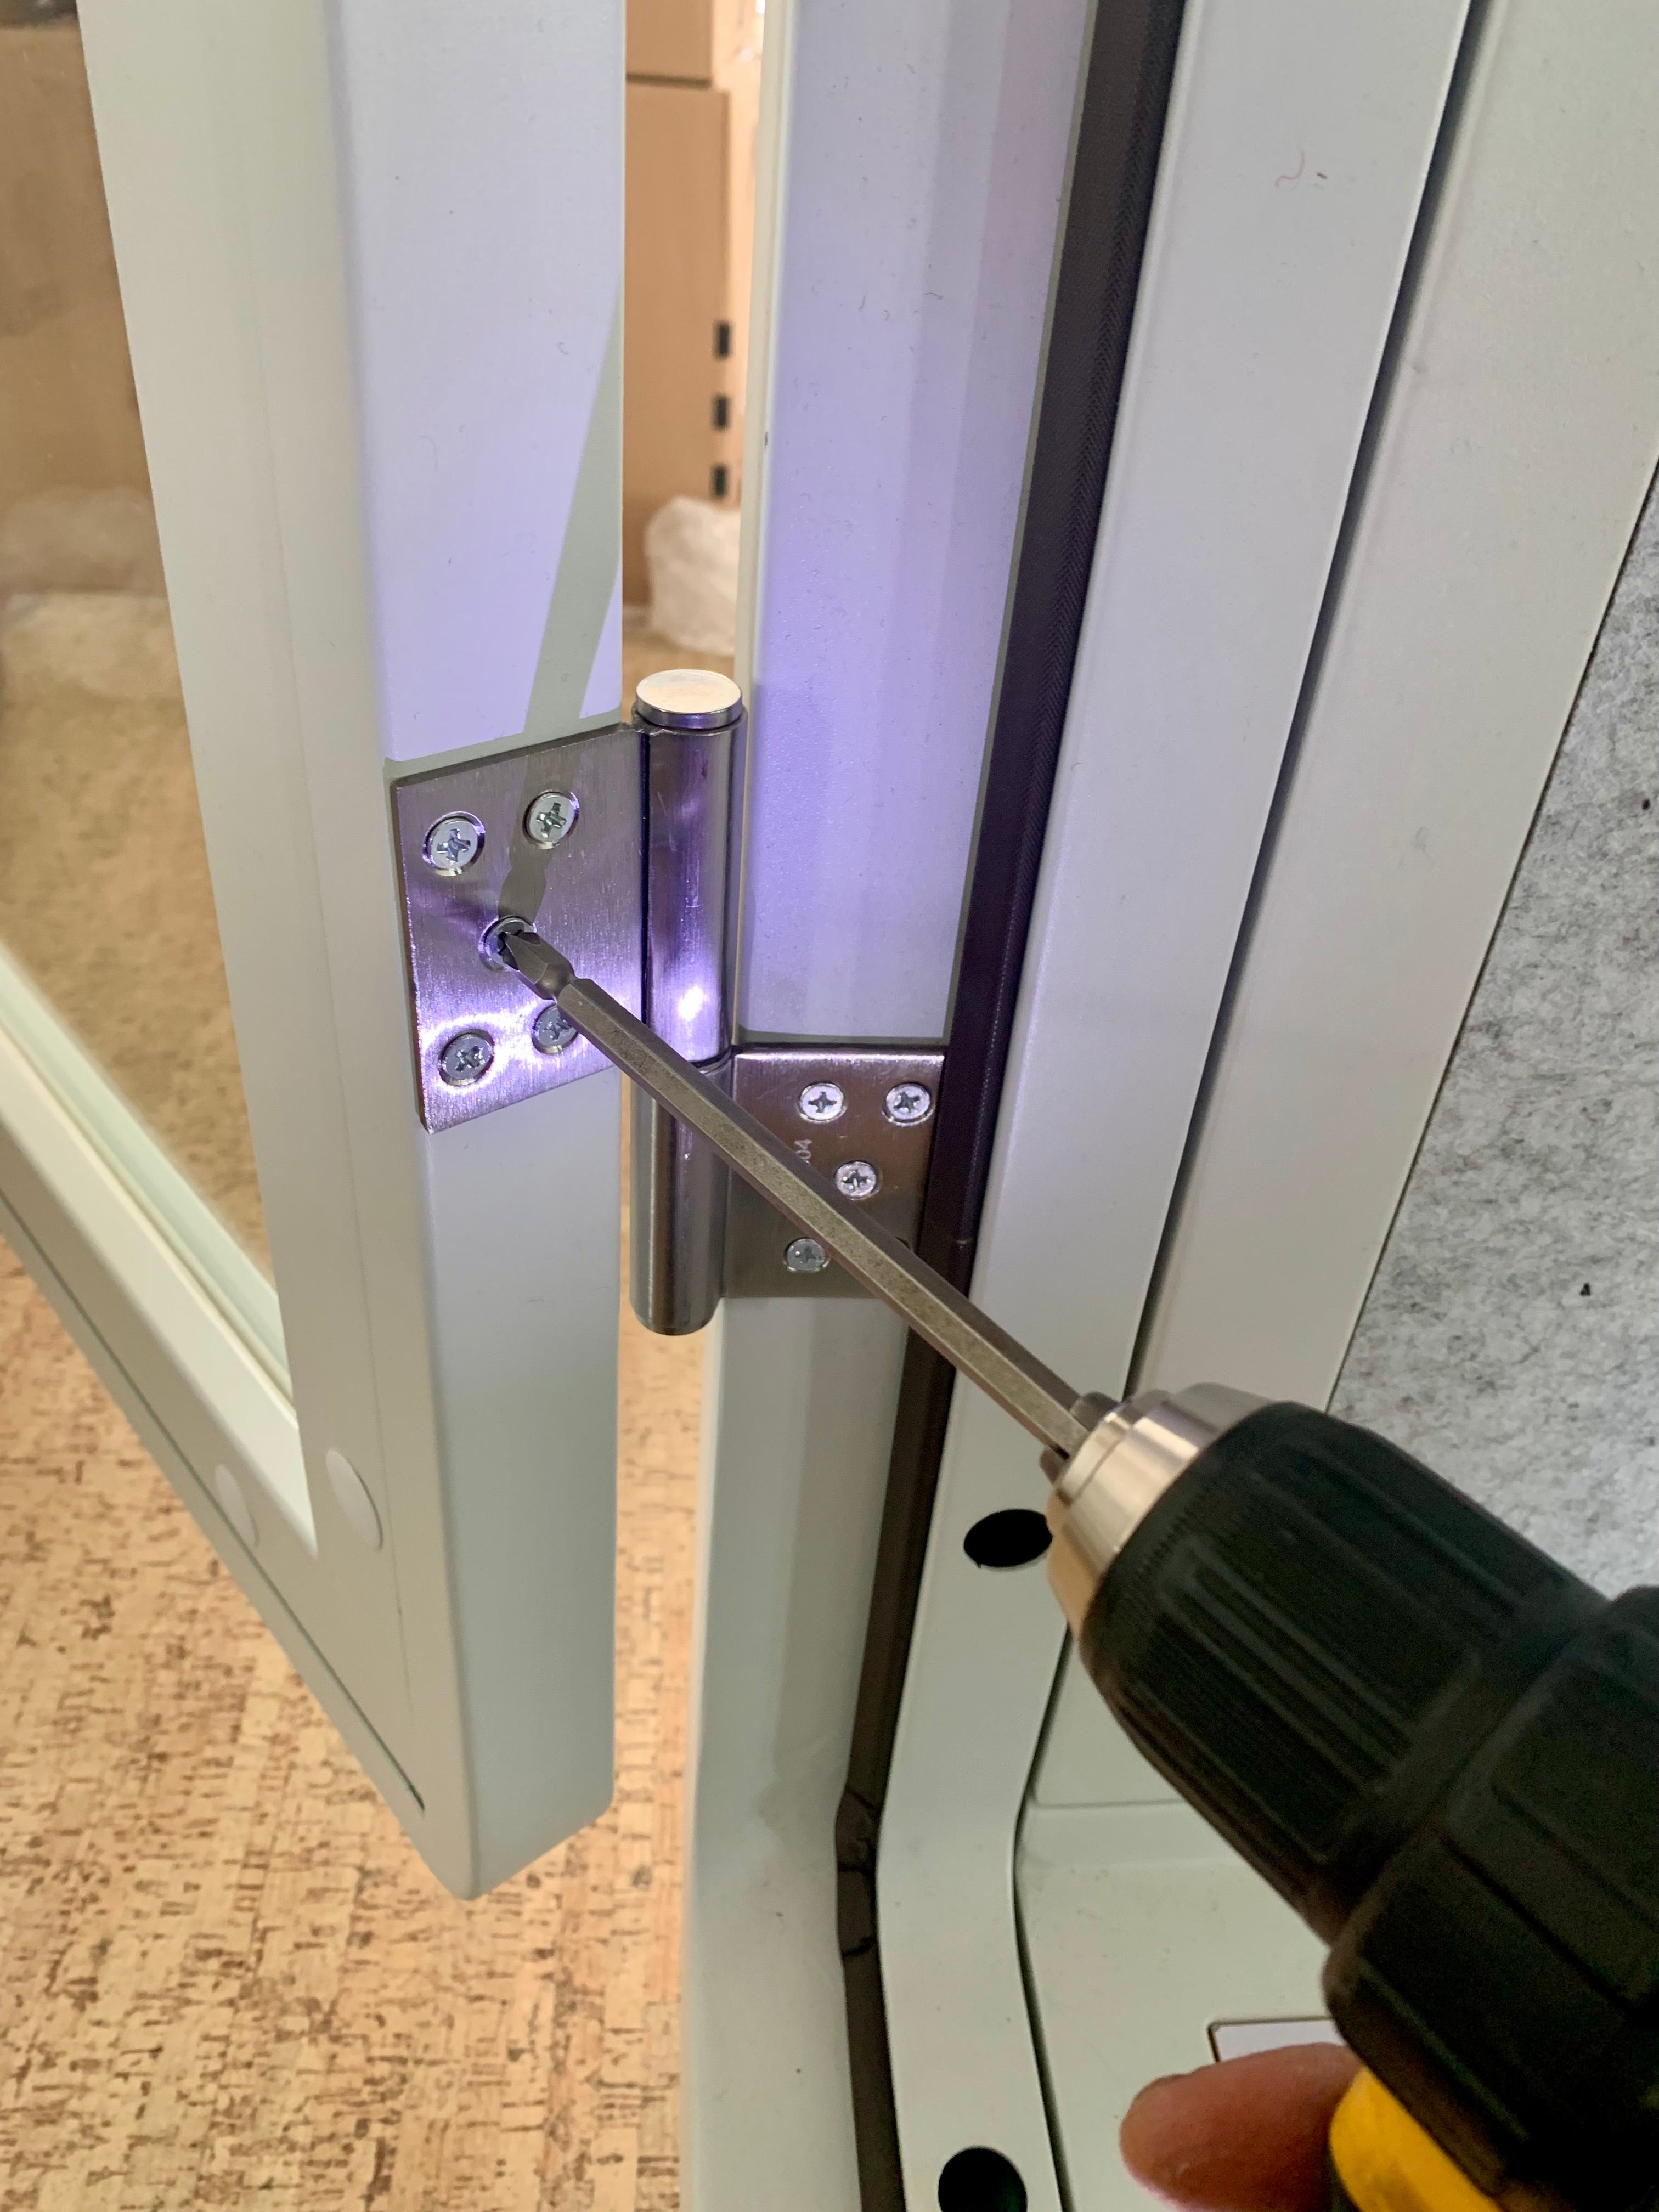
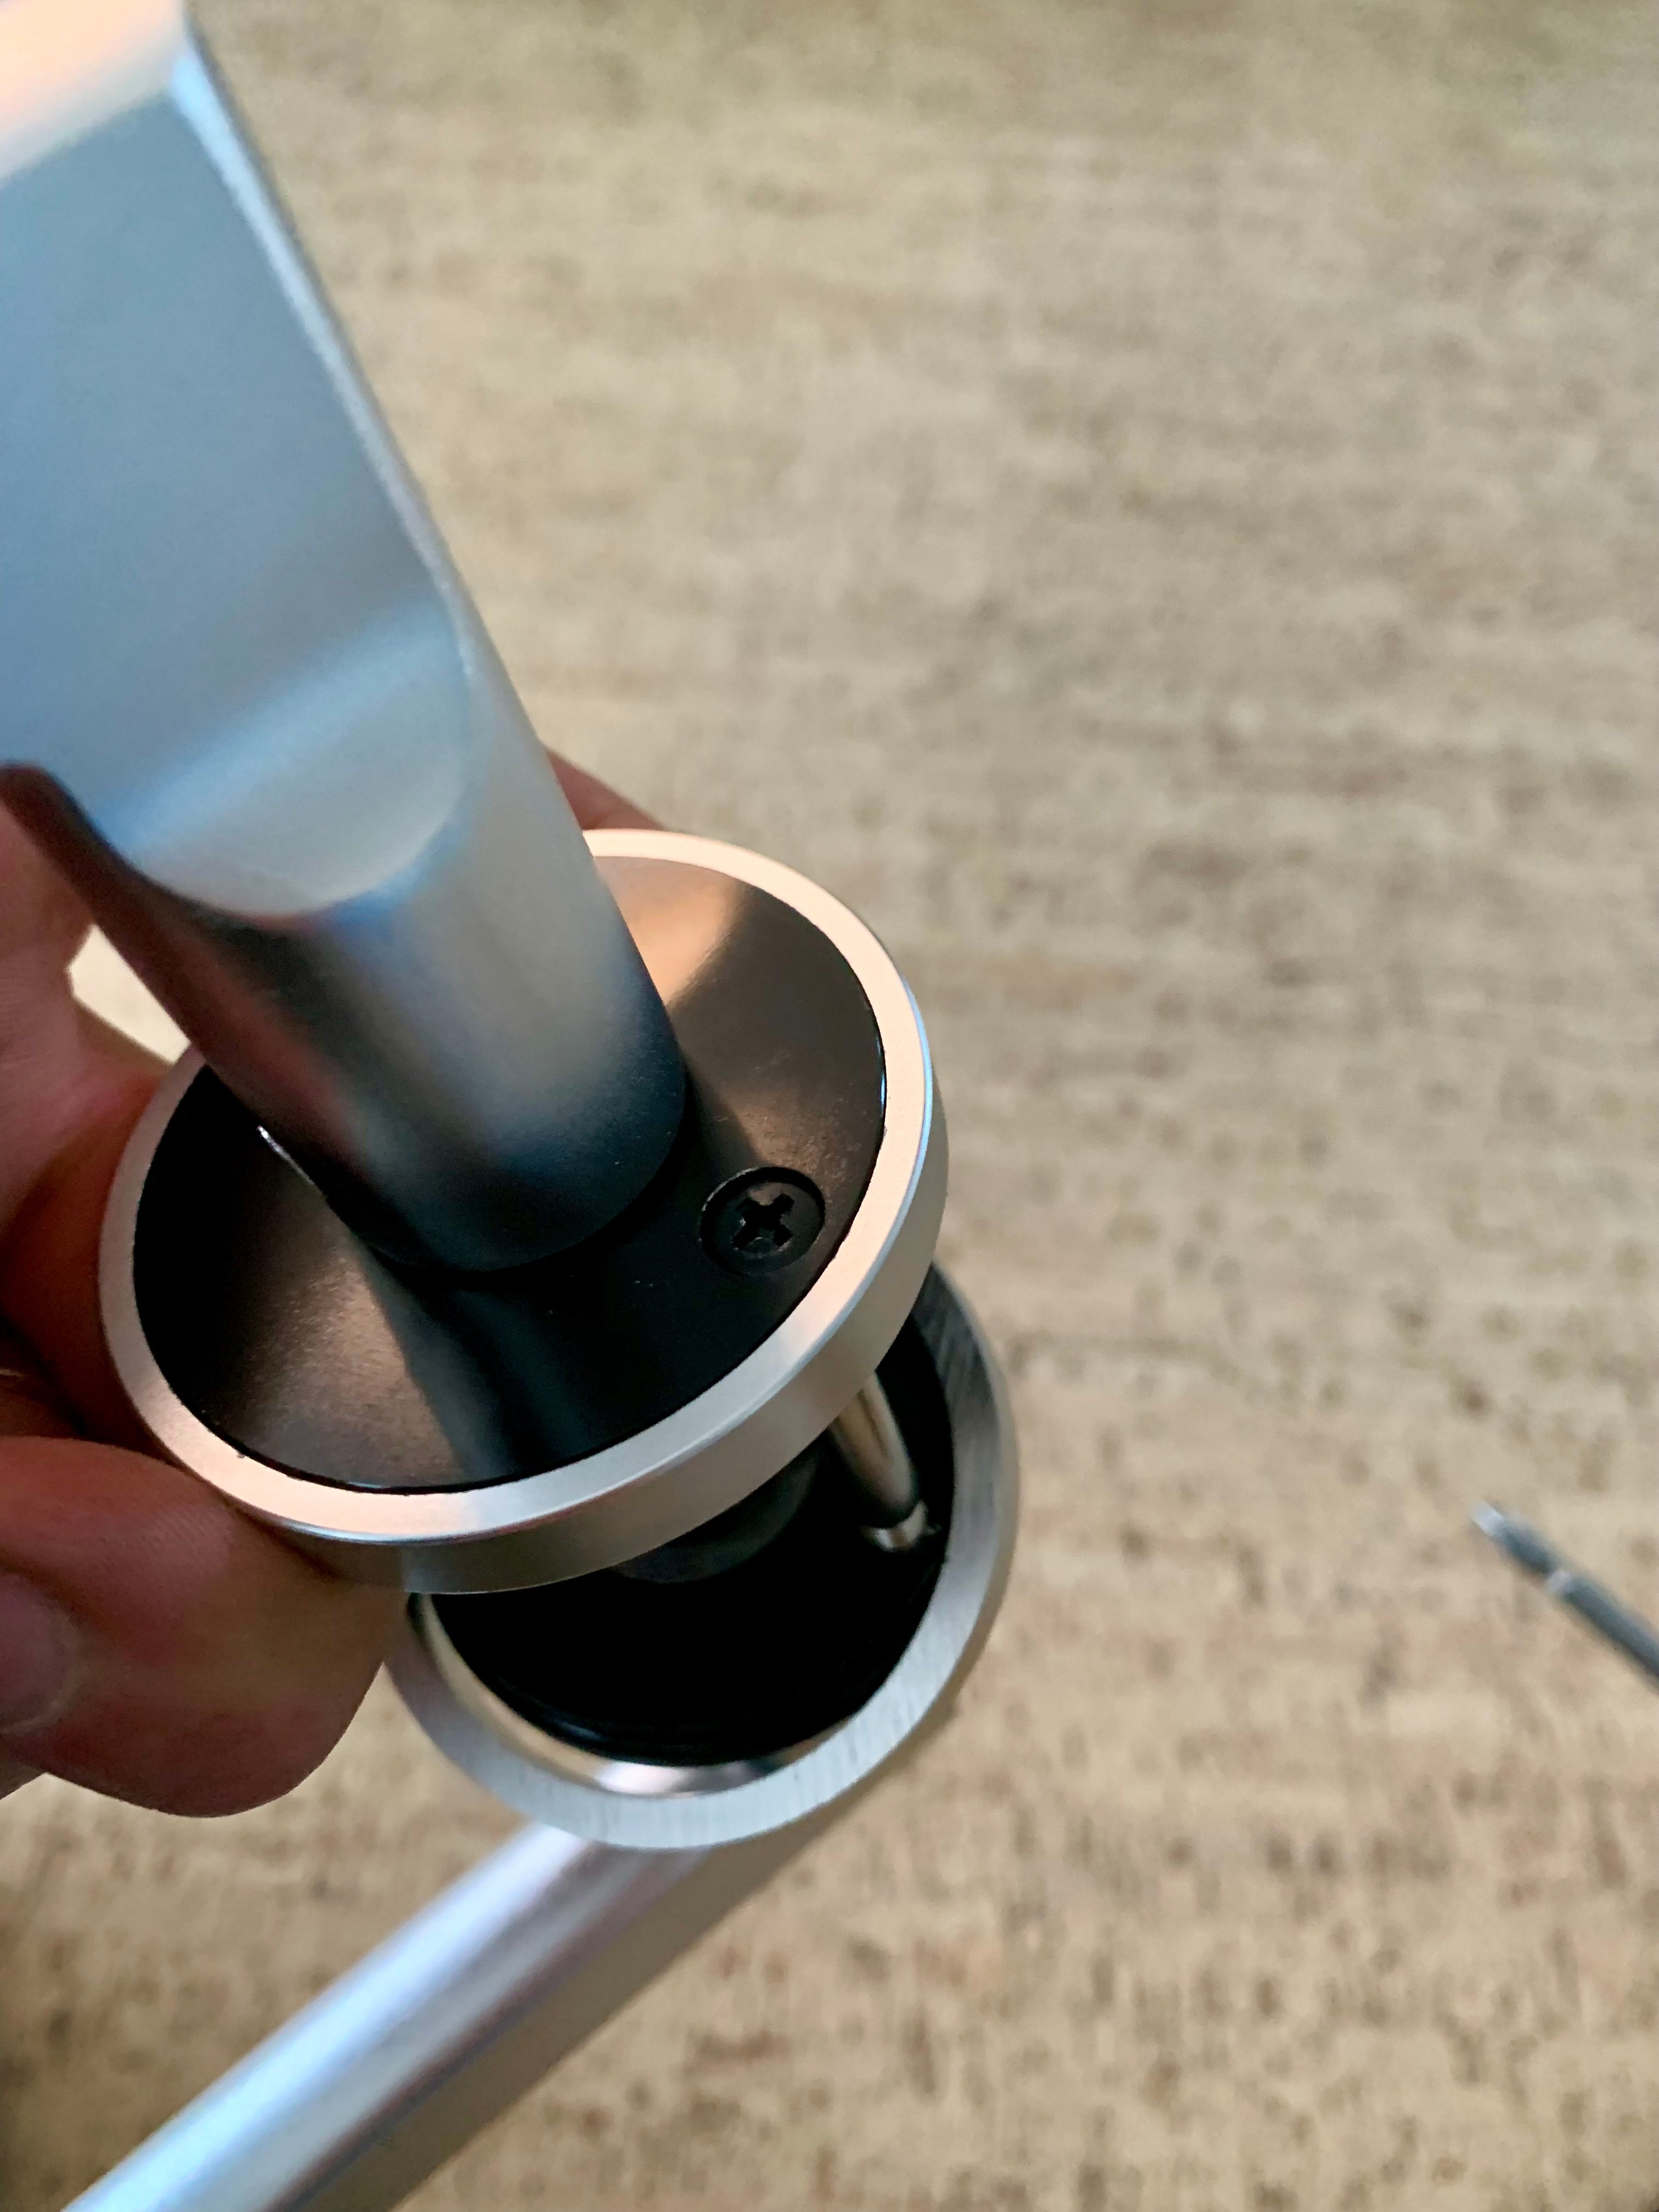
Door Hinges
- Tighten all door hinges after mounting the door onto the frame
* If your floor is slanted and you need to prevent the door from swinging open:
- Loosen the hinges on the door frame, then angle the hinge pins outward away from the door frame, retighten moderately
- Mount the door onto the hinges and retighten all screws
- This will provide enough friction to prevent the door from swinging open
Desk (Solo model)
- Bolt the desk into the wall with the existing screws
- Install the back 3 screws on the bottom cover plate, screw in half way
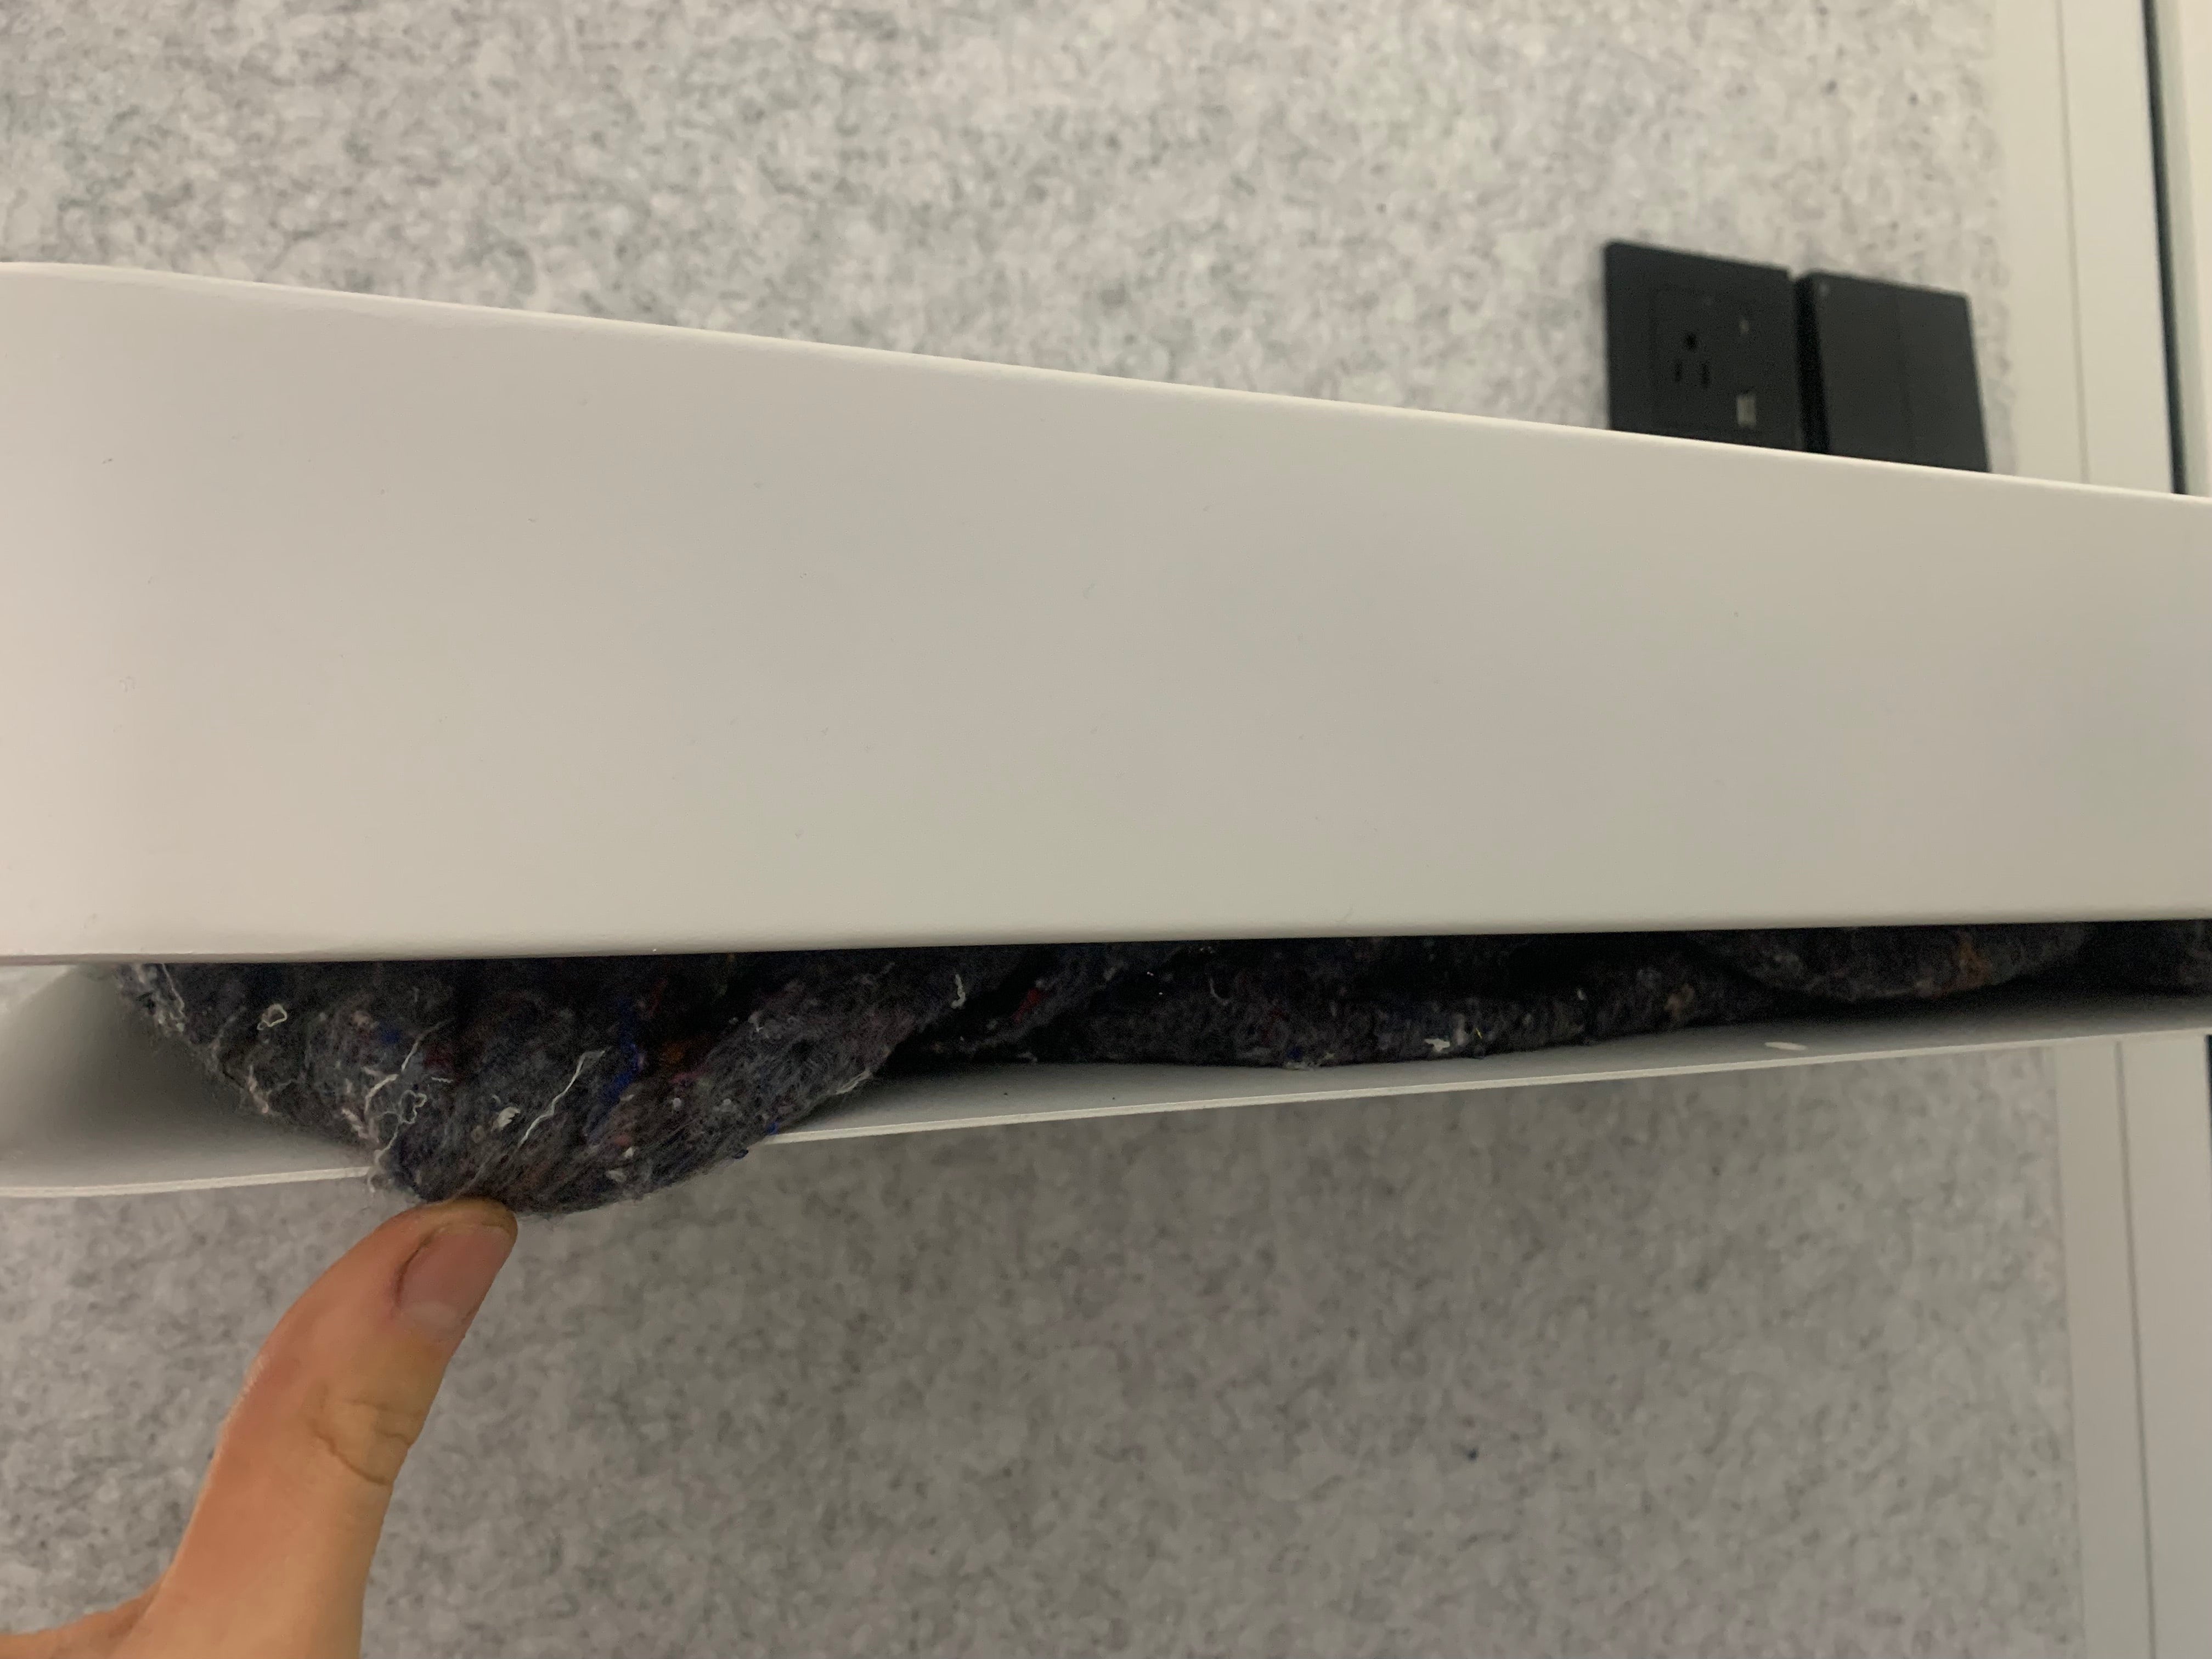
- Fill the desk with the shipping blanket material
- Finish installing the bottom cover plate
* This will muffle reverberation inside the desk
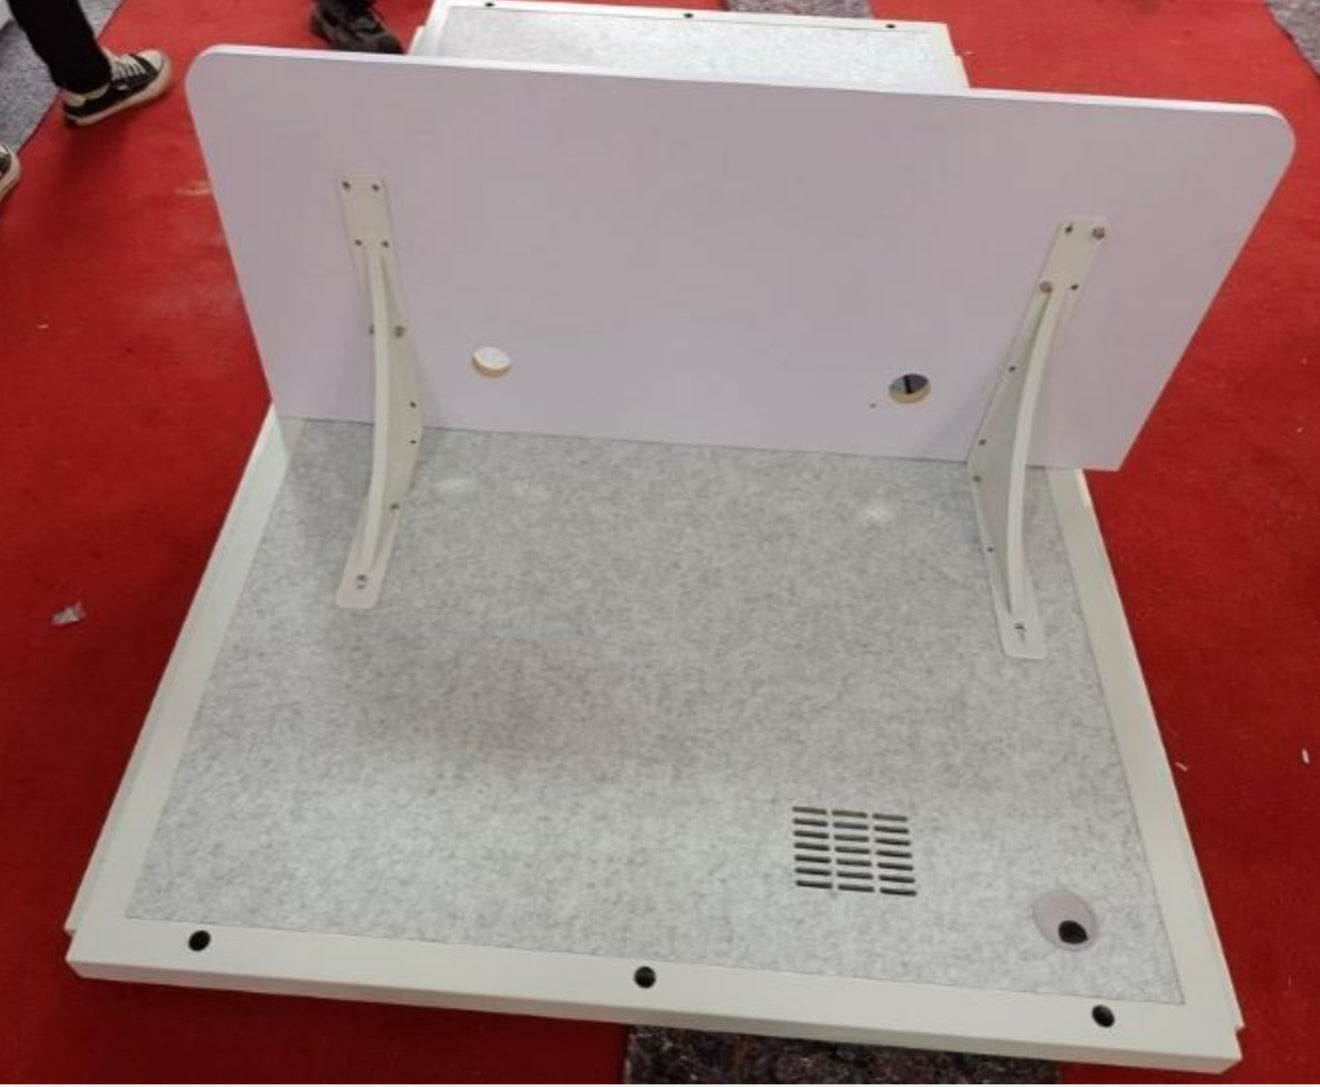
Desk (Office model)
- Loosely bolt the brackets to the desk top
- Screw the brackets into the wall
- Tighten the desktop to the brackets
* Doing this before the wall is installed will be slightly easier
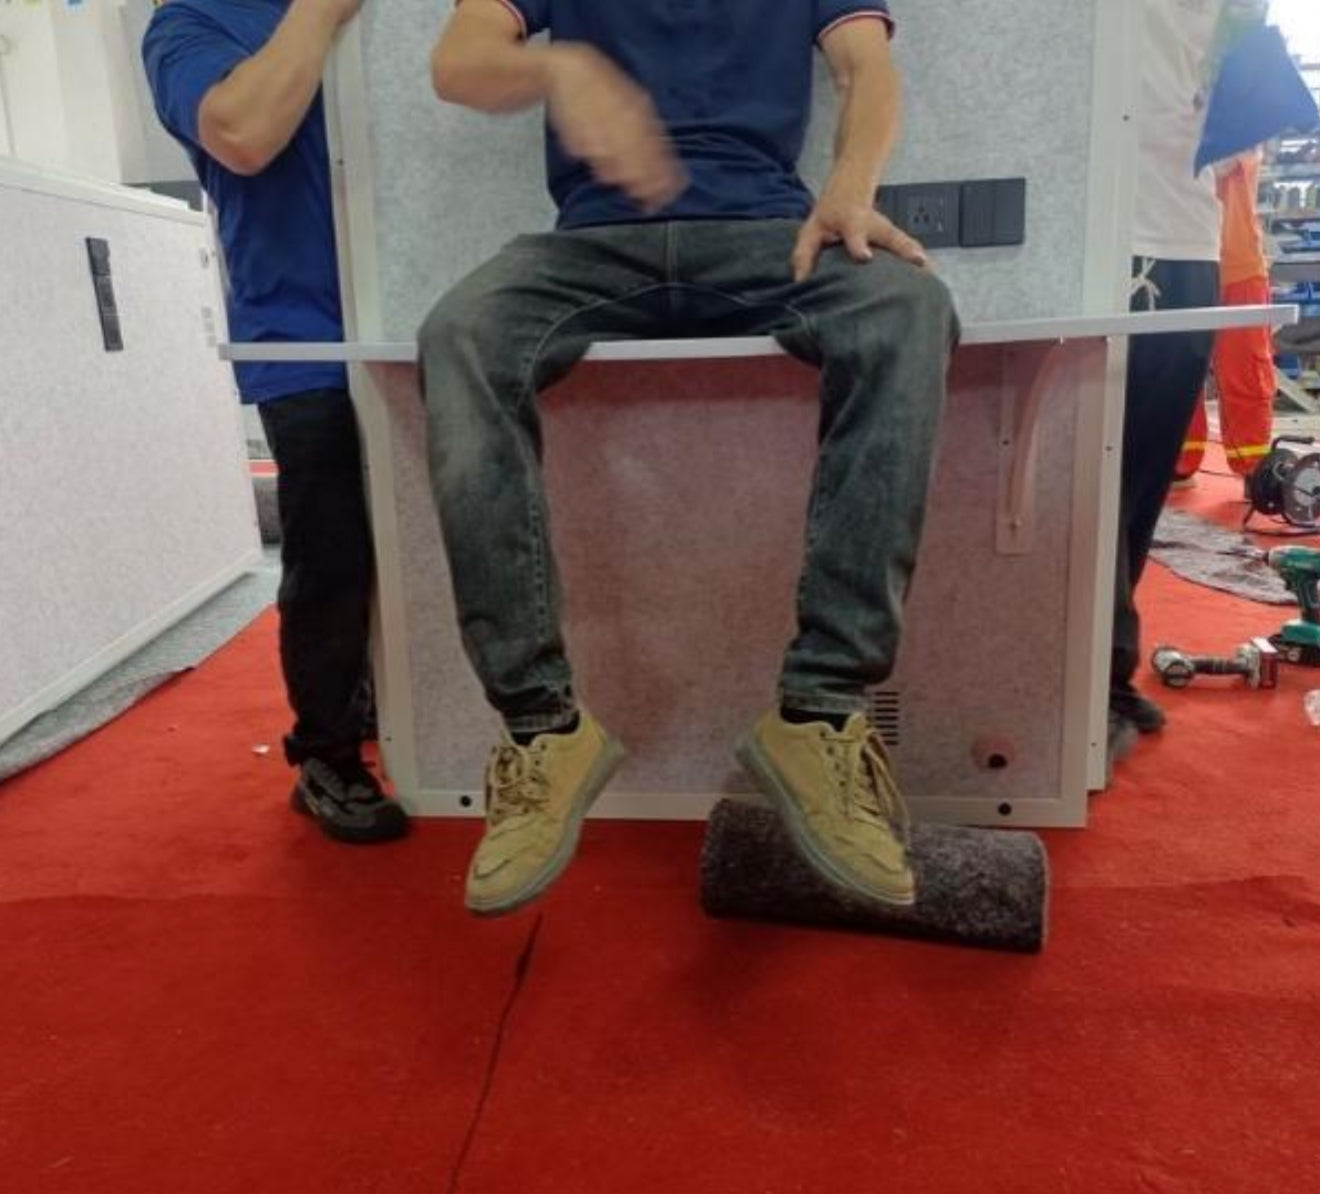
Desk (Office model)
- We do not recommend sitting on the desk
Roof & Base Brackets (Duo model)
- Install the brackets before laying then base down
- If you are assembling the booth without wheels, do not install the base brackets
- Screw the brackets in loosely, returning to tighten at the end